Knowledge Base
Salesforce Connector Guide

Salesforce x Go Autonomous
Ready to unlock the power of seamless integration between Go Autonomous and Salesforce? This guide will walk you through connecting your Salesforce instance in just a few minutes.
The guide consists of two parts:
Part A. Supercharge Case Management: Install the Go Autonomous App in Salesforce.
Part B. Set up the Layout of the Salesforce page
Part C. Configure the Connected App via the Go Autonomous Platform
Let’s dive in!
If you want to install the Go Autonomous canvas within the Salesforce environment, the setup is different to the one described in this article.
In the situation, please reach out to your Customer Success Manager for next steps.
Part A. Go Autonomous App for Salesforce
Installing from the App Exchange
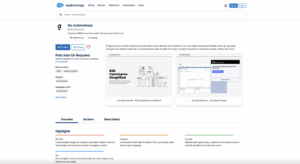
Step 1. Navigate to Salesforce App Exchange Application
The Salesforce environment admin installs the application. Navigate to the Salesforce App Exchange application and find Go Autonomous.
Step 2. Select the Environment
After pressing “Get it Now”, Salesforce will redirect you to a new tab. Here, you will be prompted to select which environment you would like to install the application. Select the desired environment, and if you are unsure, please reach out to your Go Autonomous Customer Success Manager.
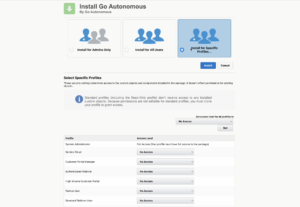
Step 3. Provide Permission Settings for Specific Users
After confirming the environment and agreeing to the terms and conditions, Salesforce will redirect you to login once again. Once you enter your credentials, you will be automatically navigated to the “Install Go Autonomous page”. On this page, perform select the “Install for Specific Profiles” button.
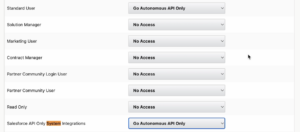
Step 4. Select the Profile Setting for “Standard User”
Scroll down through the list of Profile options and toggle the below Profiles to “Go Autonomous API Only”
- “Standard user”
- “Sales API Only System Integrations”
Step 5. Install the application
Scroll back to the top of the page and press “Install” under the “Install for Specific Profiles” button.
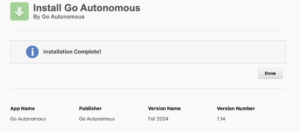
Step 6. Installation Success!
Wait for the package to finish installing. Once completed, you will receive this notification. Press the “Done” button to navigate to Salesforce.
Creating a Profile and Adjusting the User
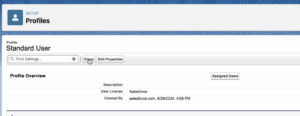
Step 1. Navigate to the Standard User Profile
In the Salesforce Setup settings, use the navigate pane on the left to find the “Administration” section. Then, expand the “Users” section and select “Profiles. Find “Standard User” in the list of profiles.

Step 2. Clone the Standard User Profile
Once in the Standard User Profile, press the “Clone” button.
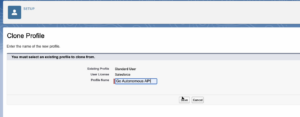
Step 3. Set a Profile Name
Enter “Go Autonomous API” as the profile name, then press “Save”.
Step 4. Enable Go Autonomous and Go Autonomous Flow
After clicking “Edit” on the Profiles page, enable Go Autonomous and Go Autonomous flow in the “Connected App Access” section.

Step 5. Create a New User
You’ll be navigated back to the Profile page. From here, use the navigation pane on the left to find the “Users” section under the “User” section. Once selected, press the “New User” button.
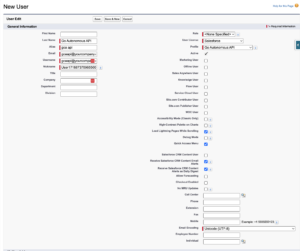
Step 6. Set-up the New User
In the “User License” field pick “Salesforce”. Then in the “Profile” field select “Go Autonomous API”. Fill in Fill in the mandatory fields of “Last Name”, “Alias”, “Email”, “Username”, “Nickname” to your preference.
Reminder to set the “Locale” and “Language” fields based on your primary location. Then, save the profile.
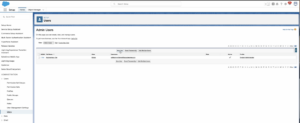
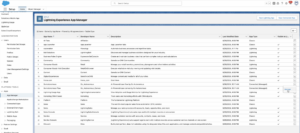
Step 7. Manage the App
Navigate to “Platform Tools” in the summary pane on the left. Under “Apps” select “App Manager”. You’ll now see a list applications. Find the Go Autonomous application and press the down arrow in the far right of the row. From here, press “Manage”.
Step 8.
Press “Edit Policies”. Under the “Client Credentials Flow” section, press the magnify glass beside the “Run As” field. A small pop-up screen will appear; here select “Go Autonomous API”. The pop-up window will then disappear. Press “Save”. You’re now completed!
Part B. Set up the Layout of the Salesforce page
Follow the instructions to embed the Go Autonomous IFrame into Salesforce
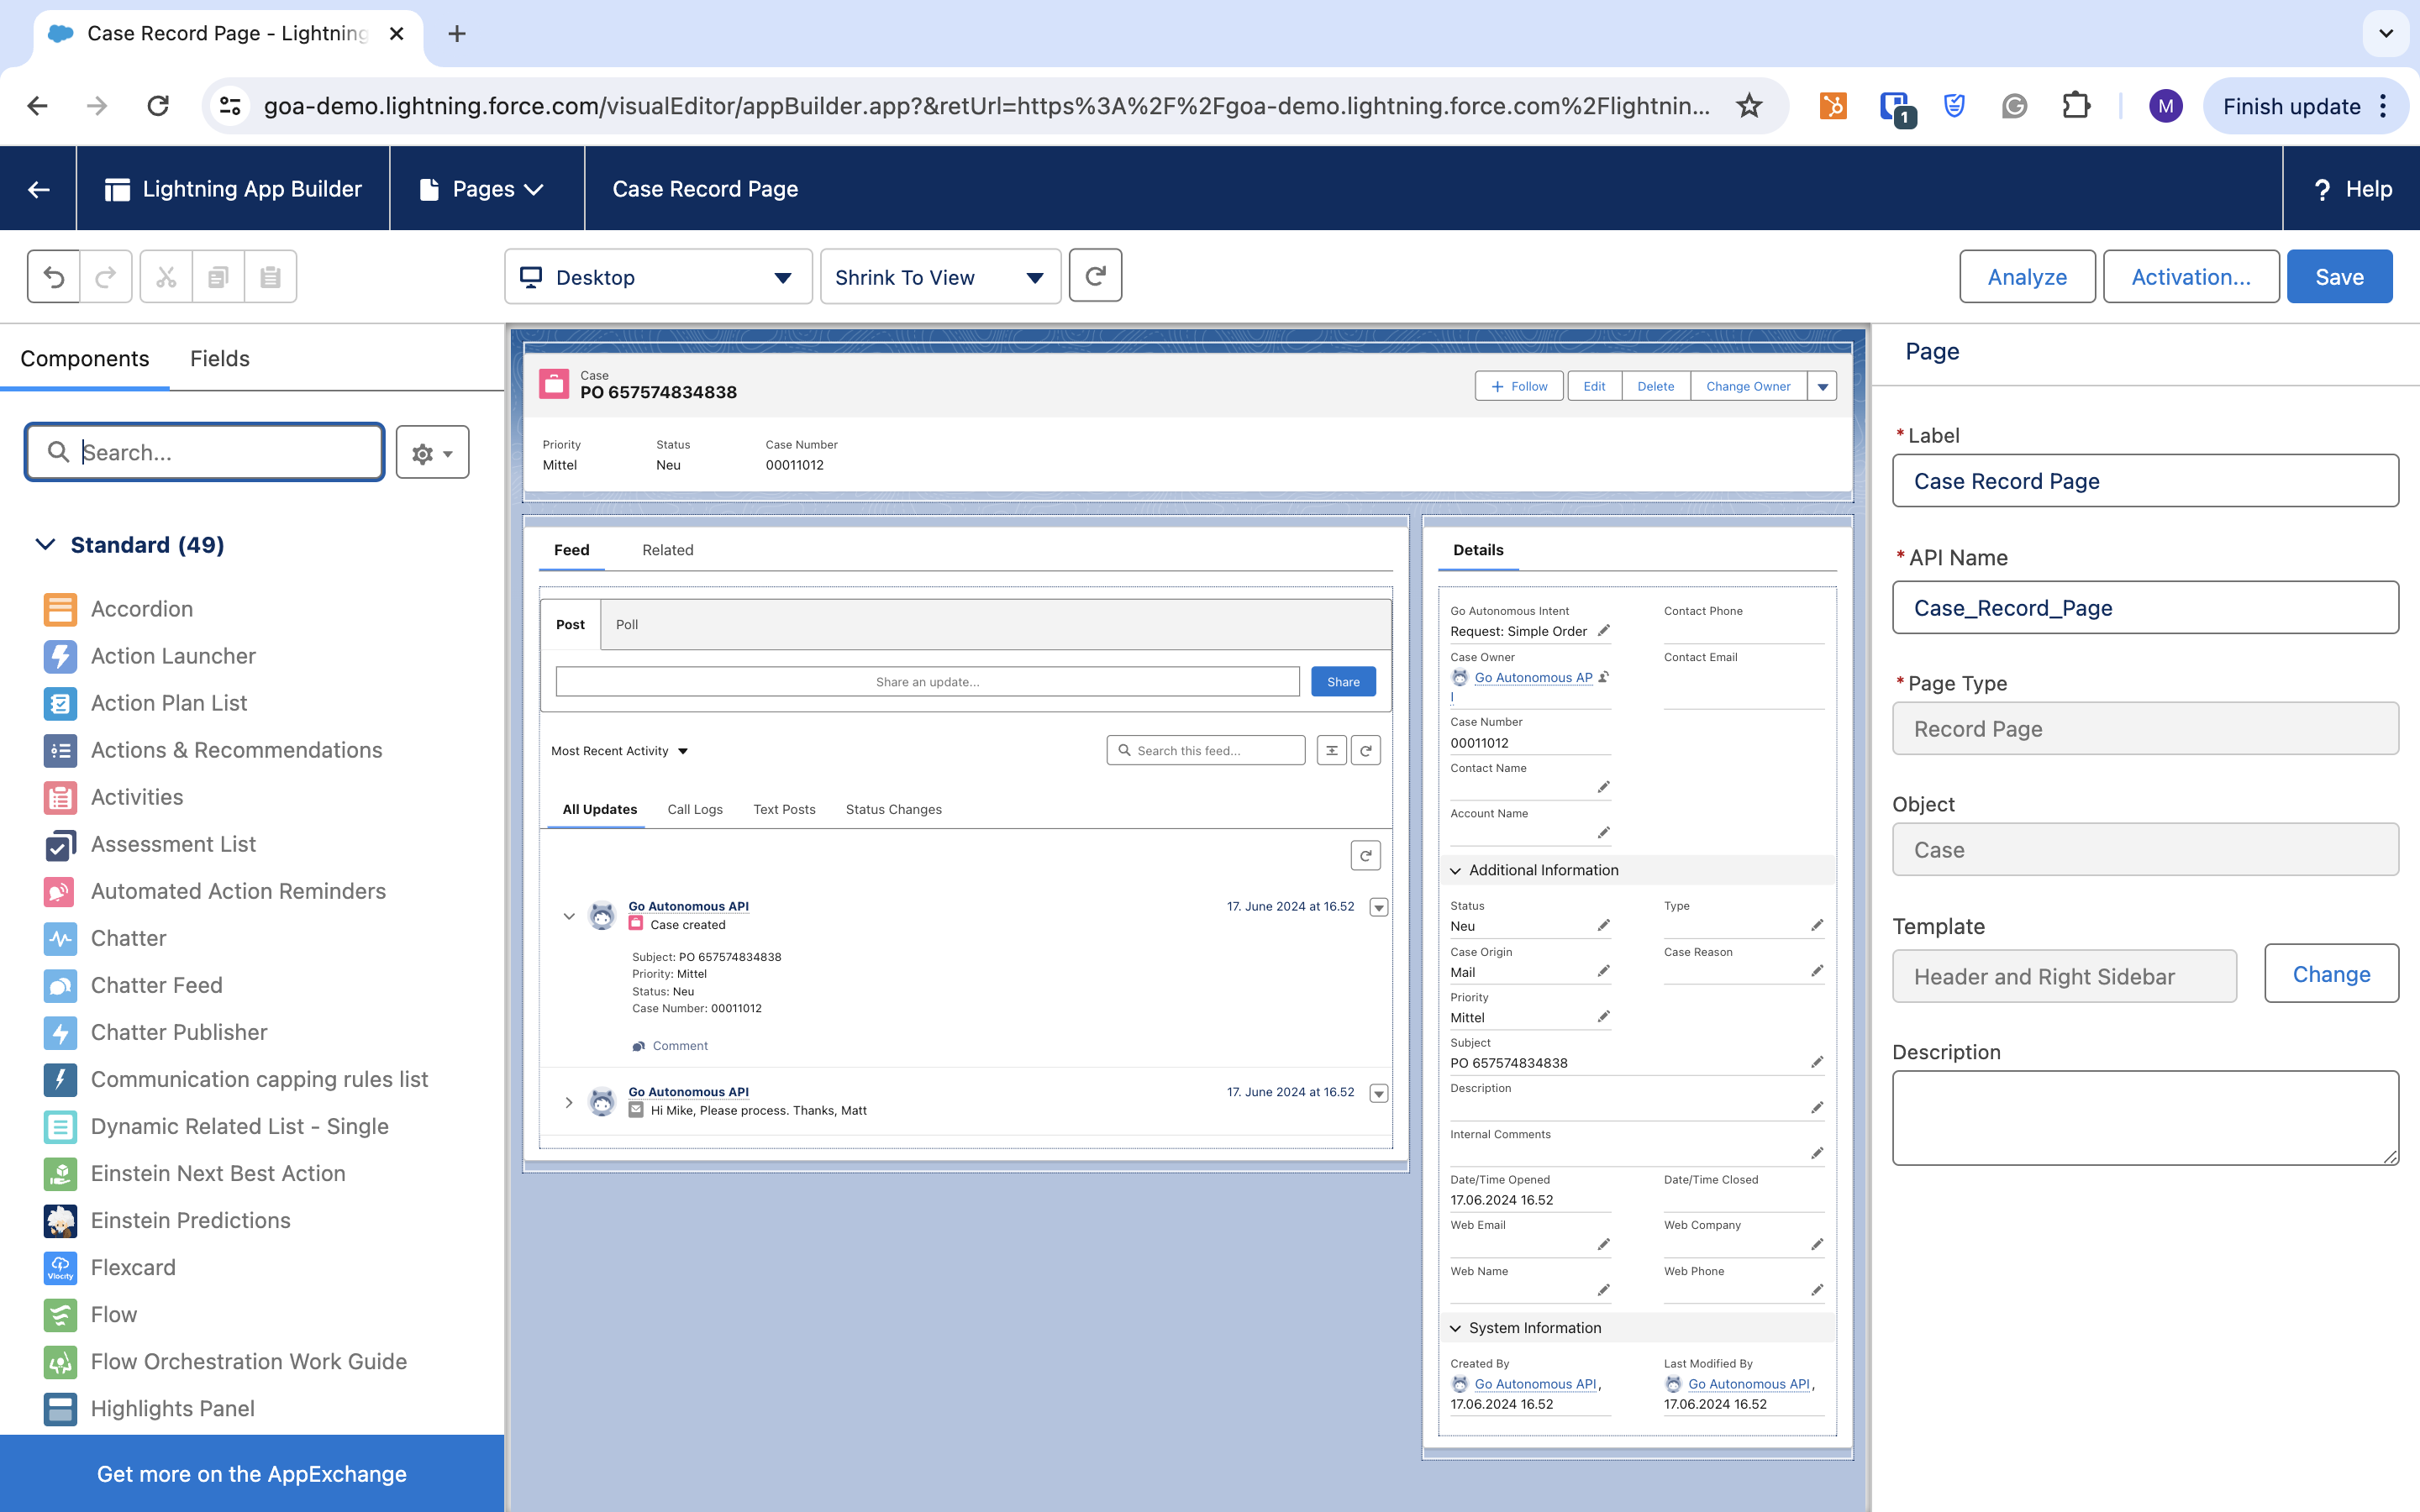
Step 1.
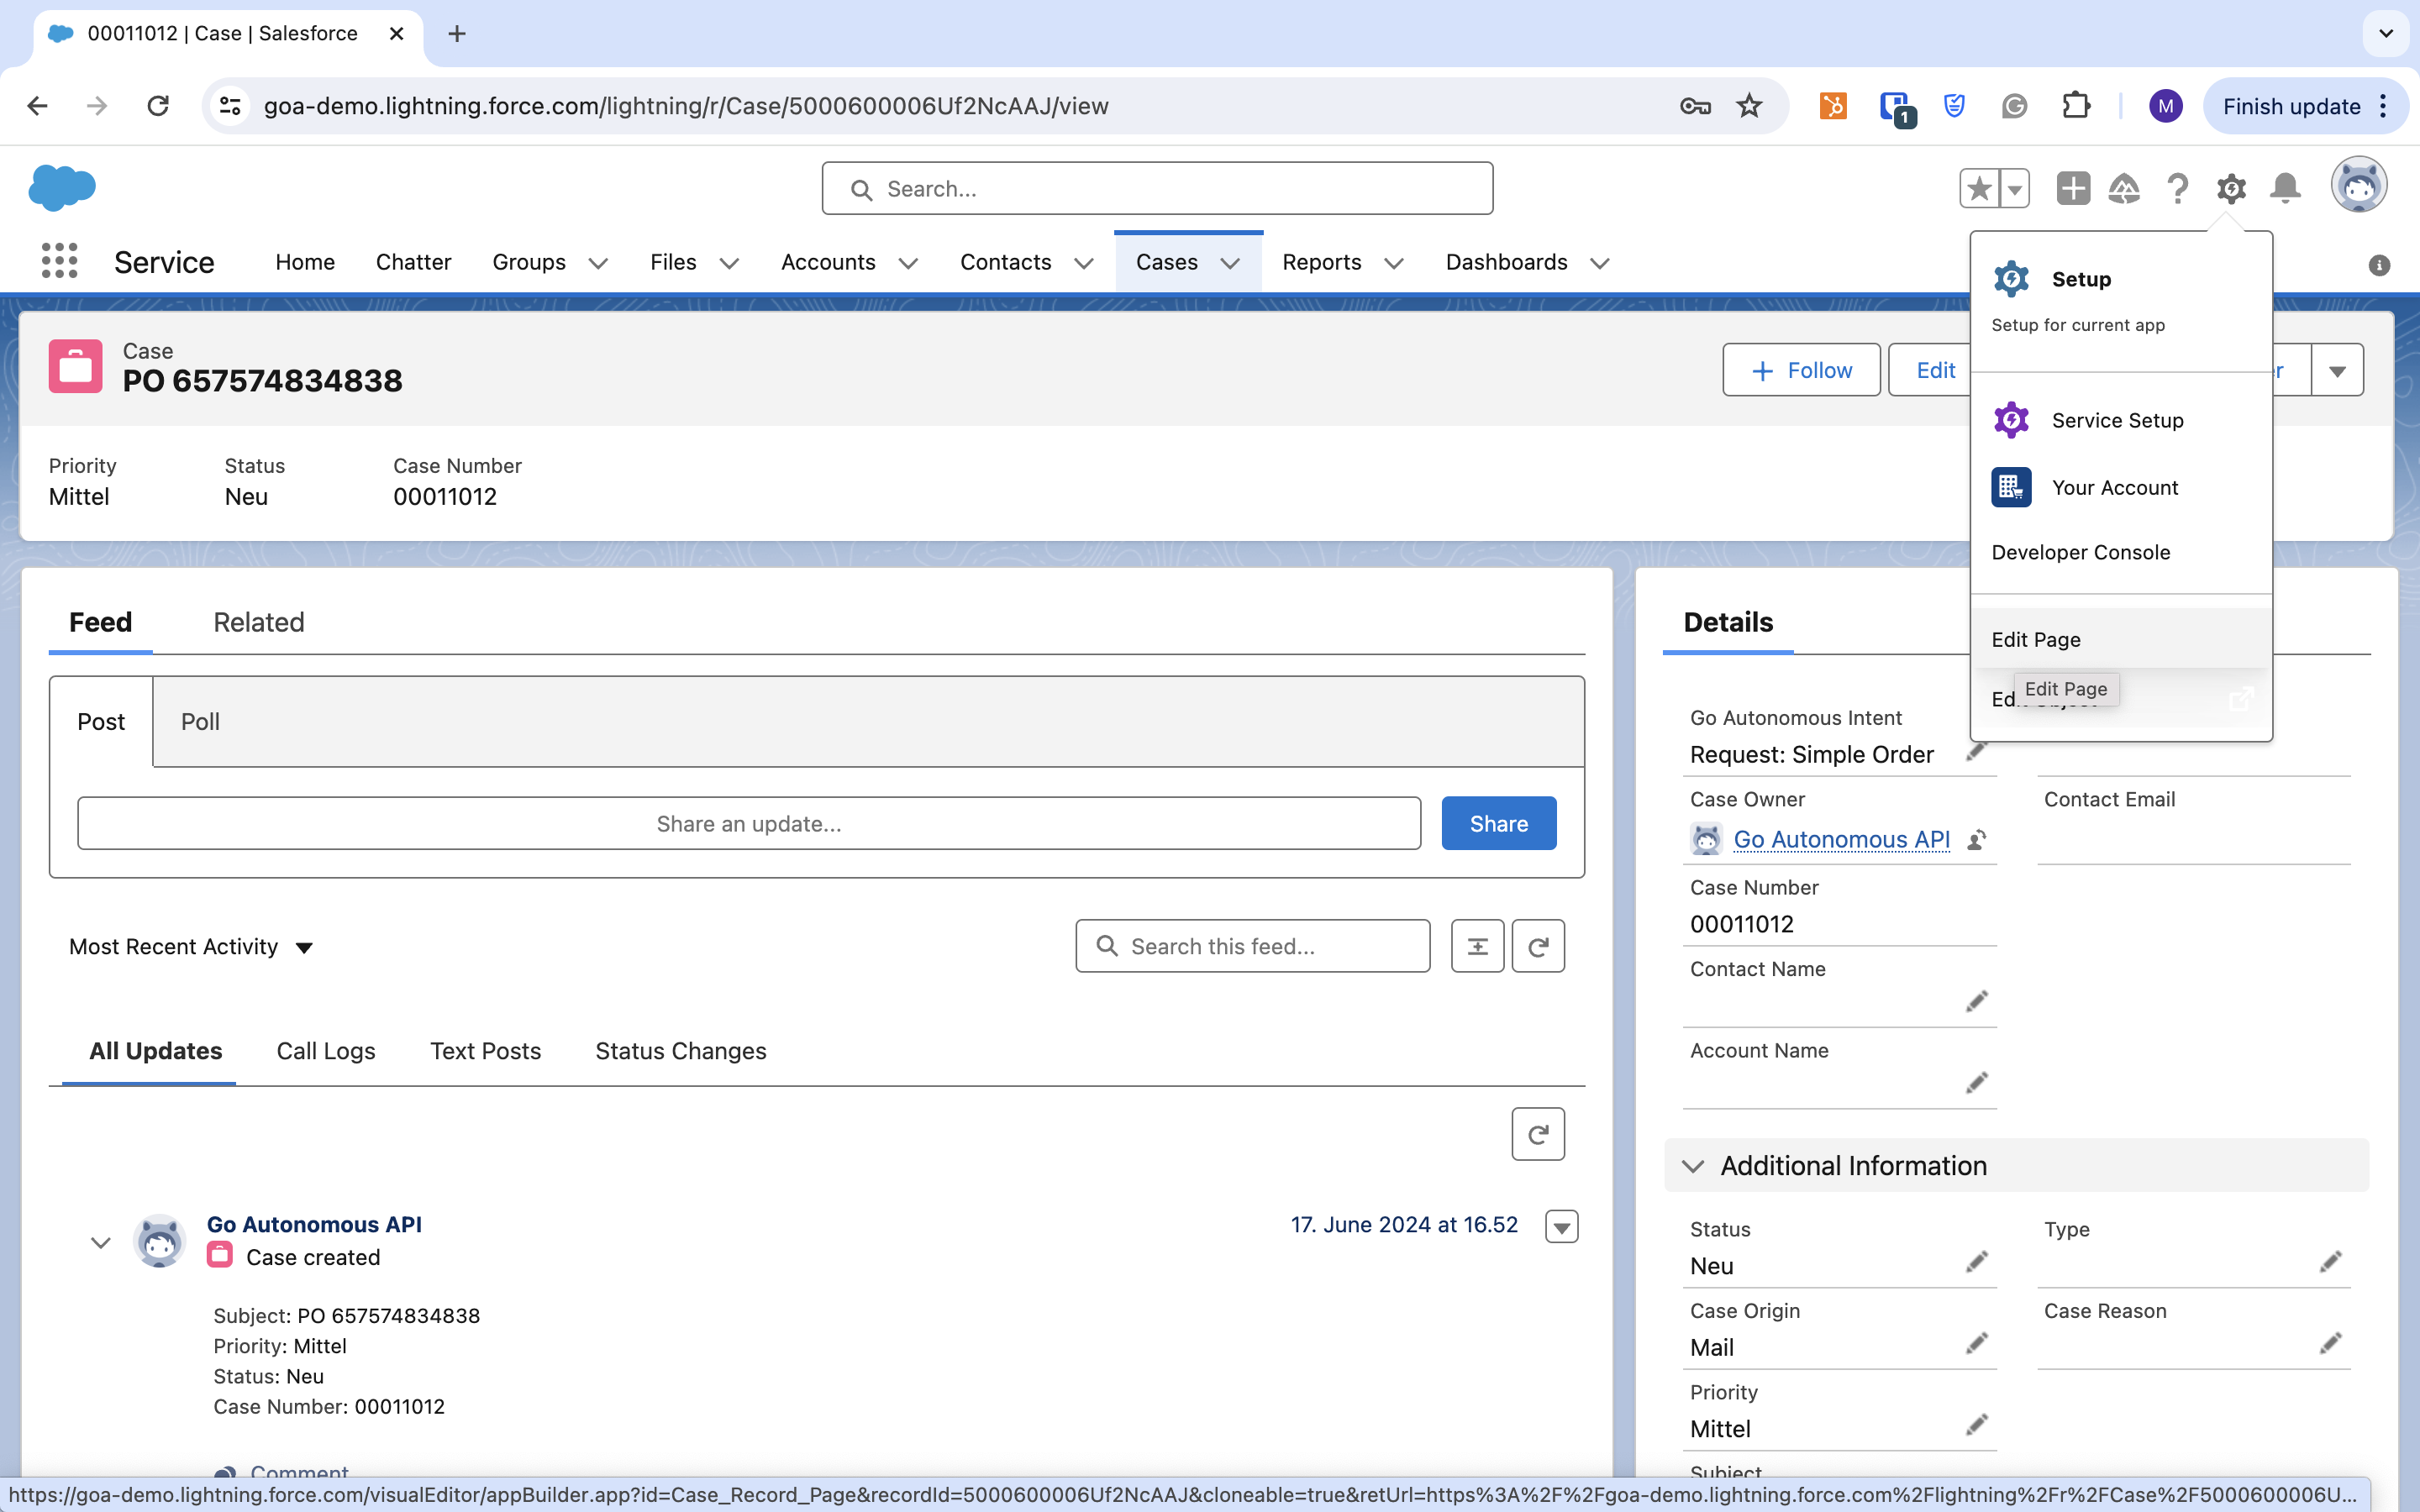
Log in to Salesforce. Navigate to the page layout settings for cases.
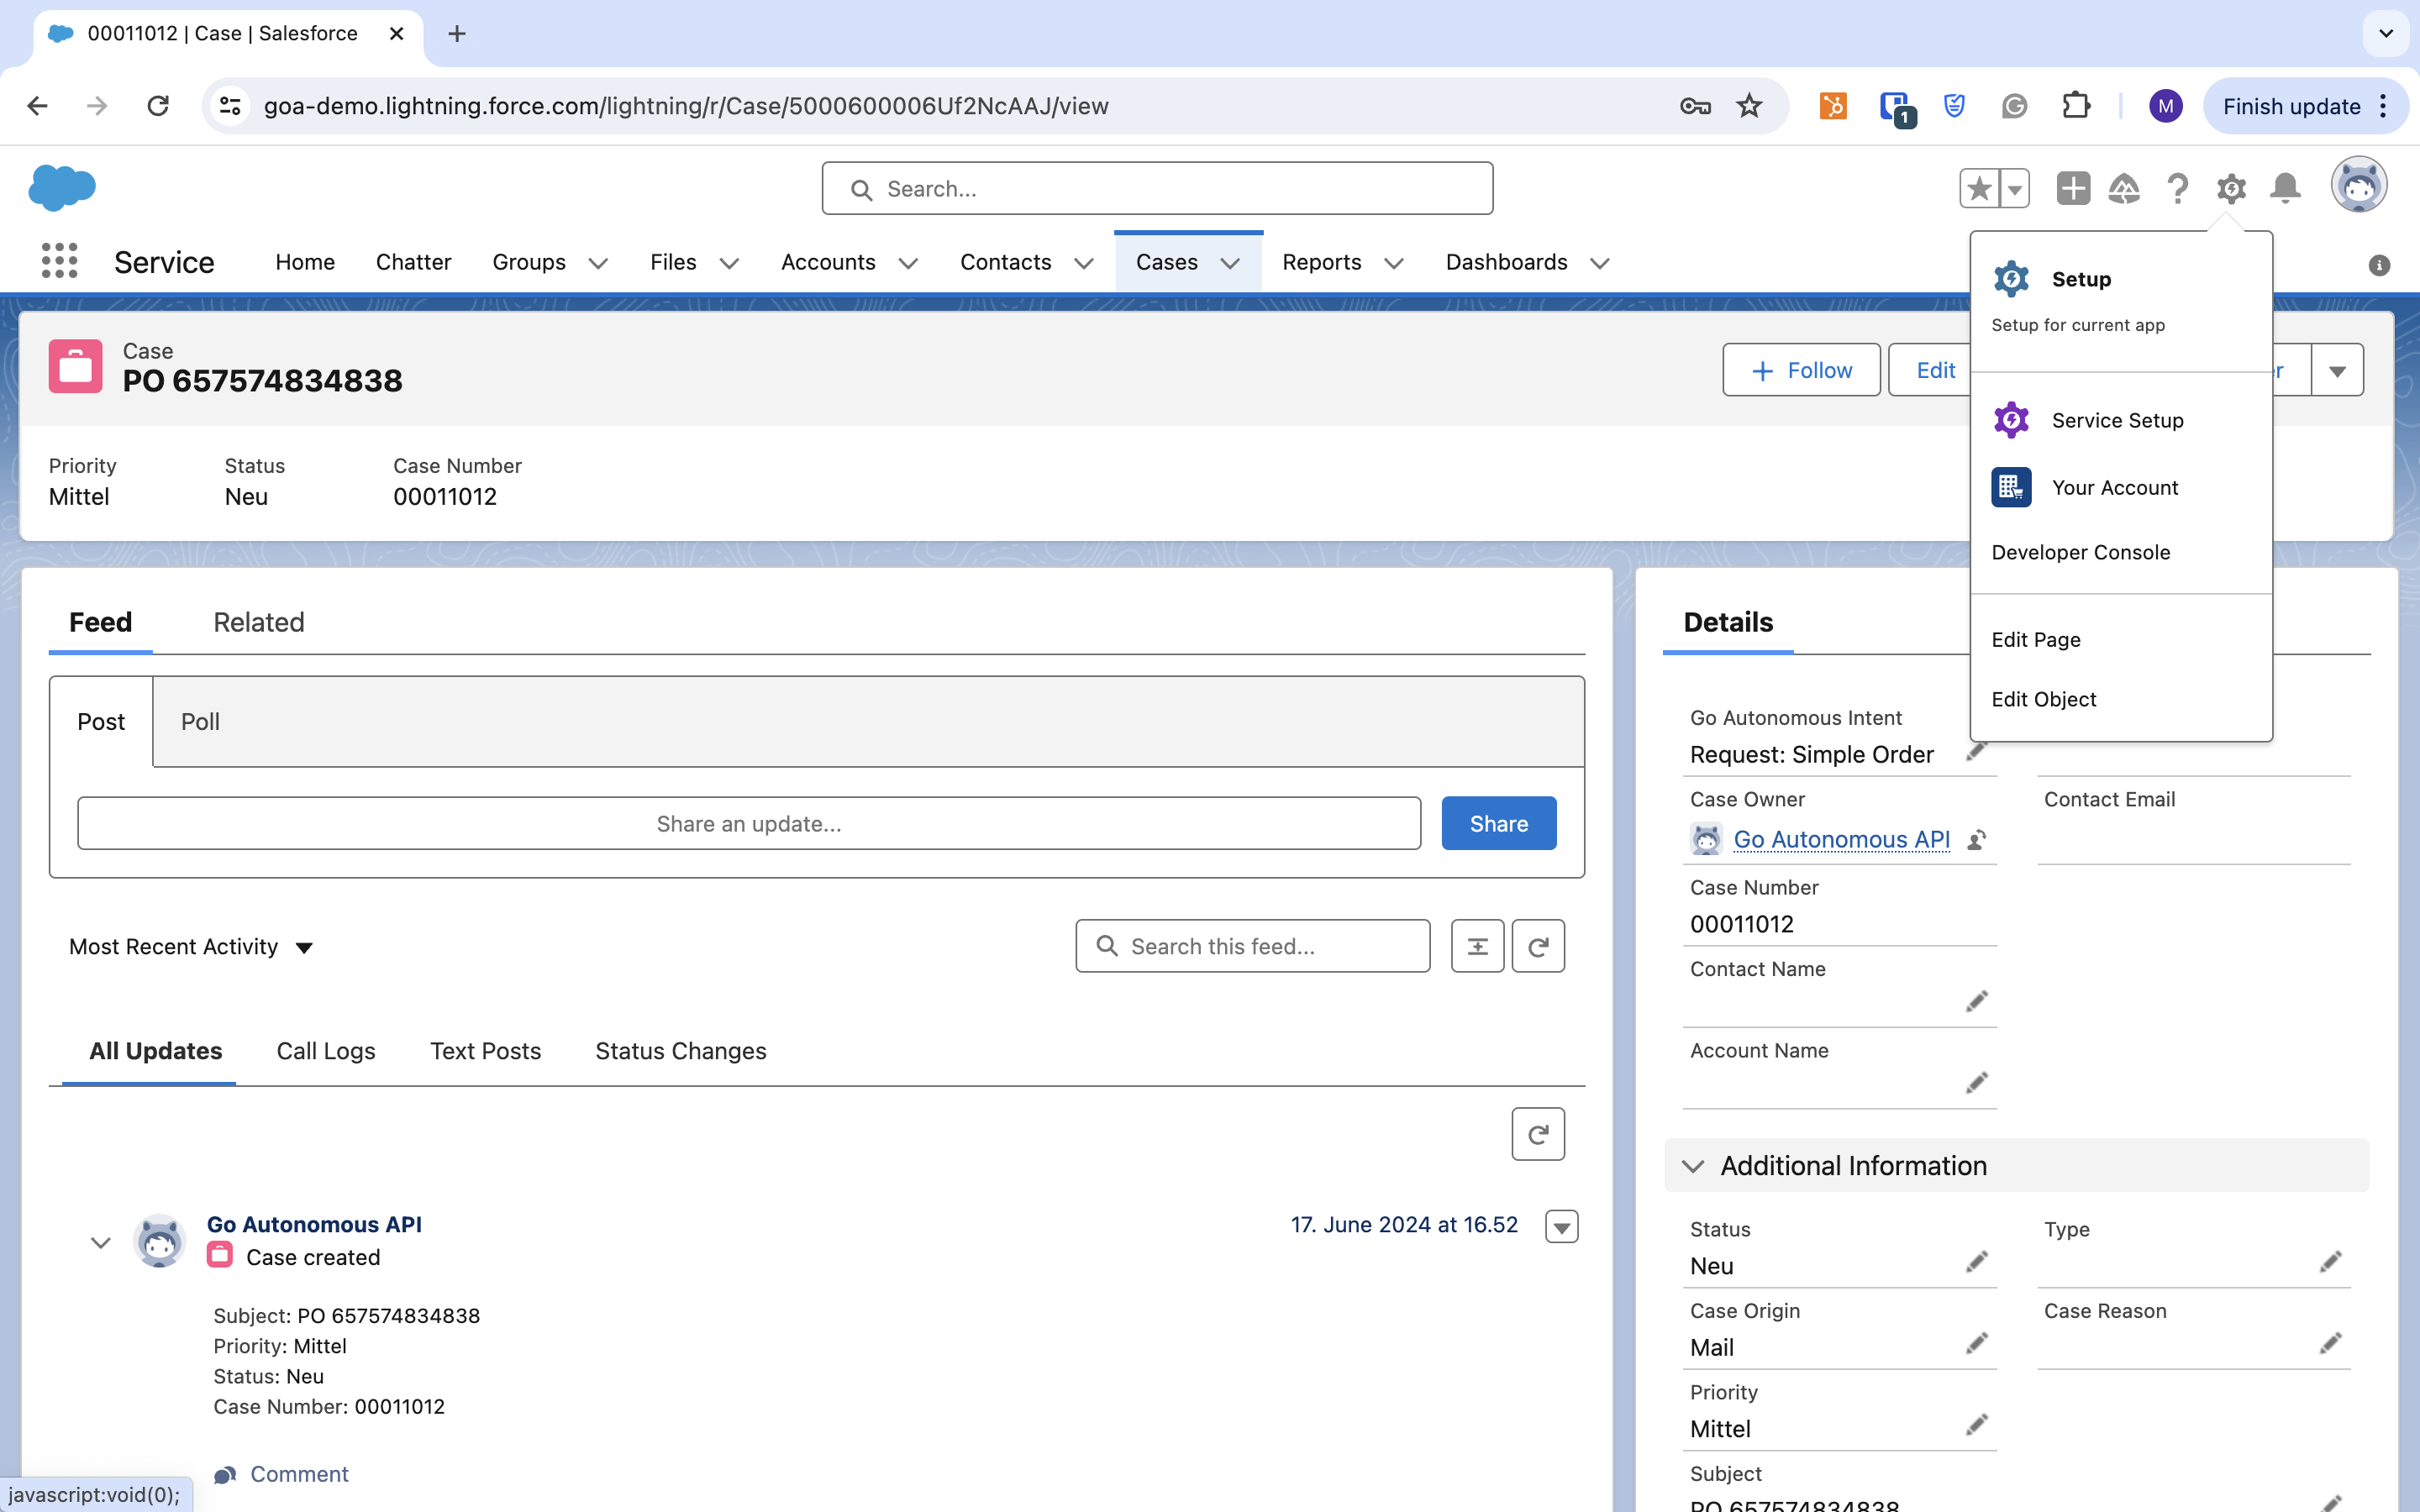
Step 2.
To customize the layout, click Edit.
Step 3.
In the left sidebar menu, search for “Go Autonomous.”
Step 4.
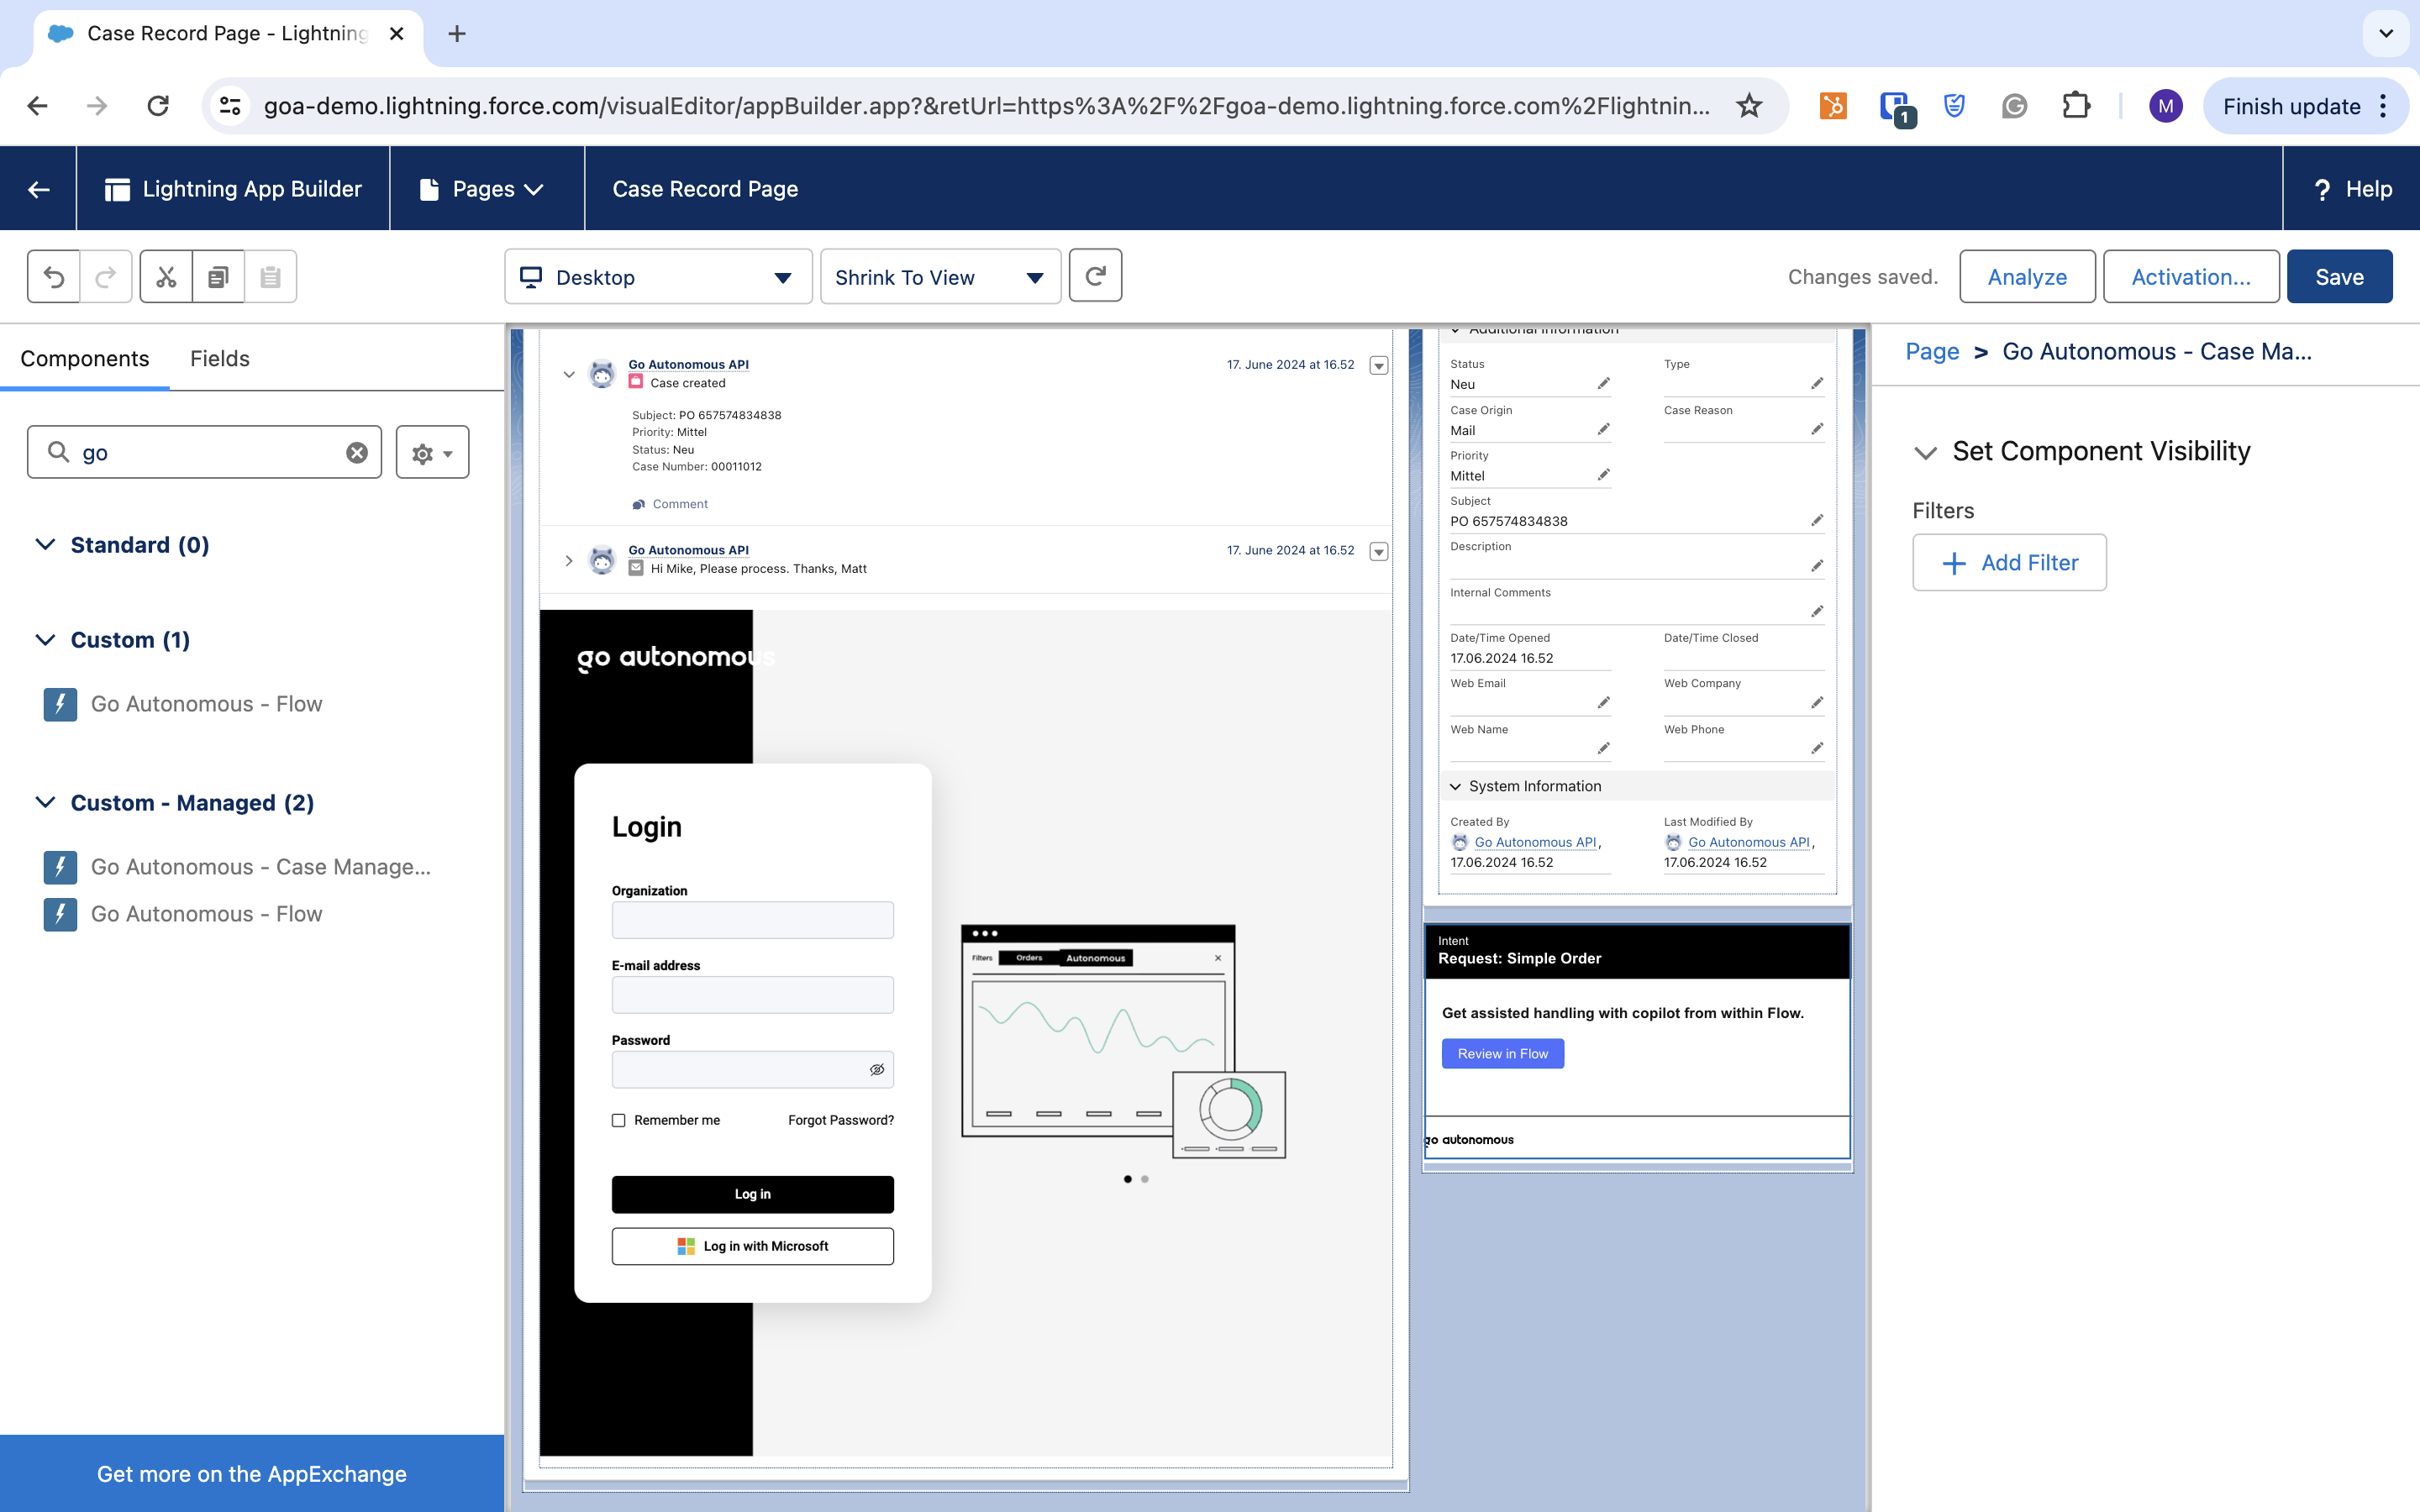
You’ll see “Go Autonomous – Flow” and “Go Autonomous – Case Management” under “Custom – Managed.”
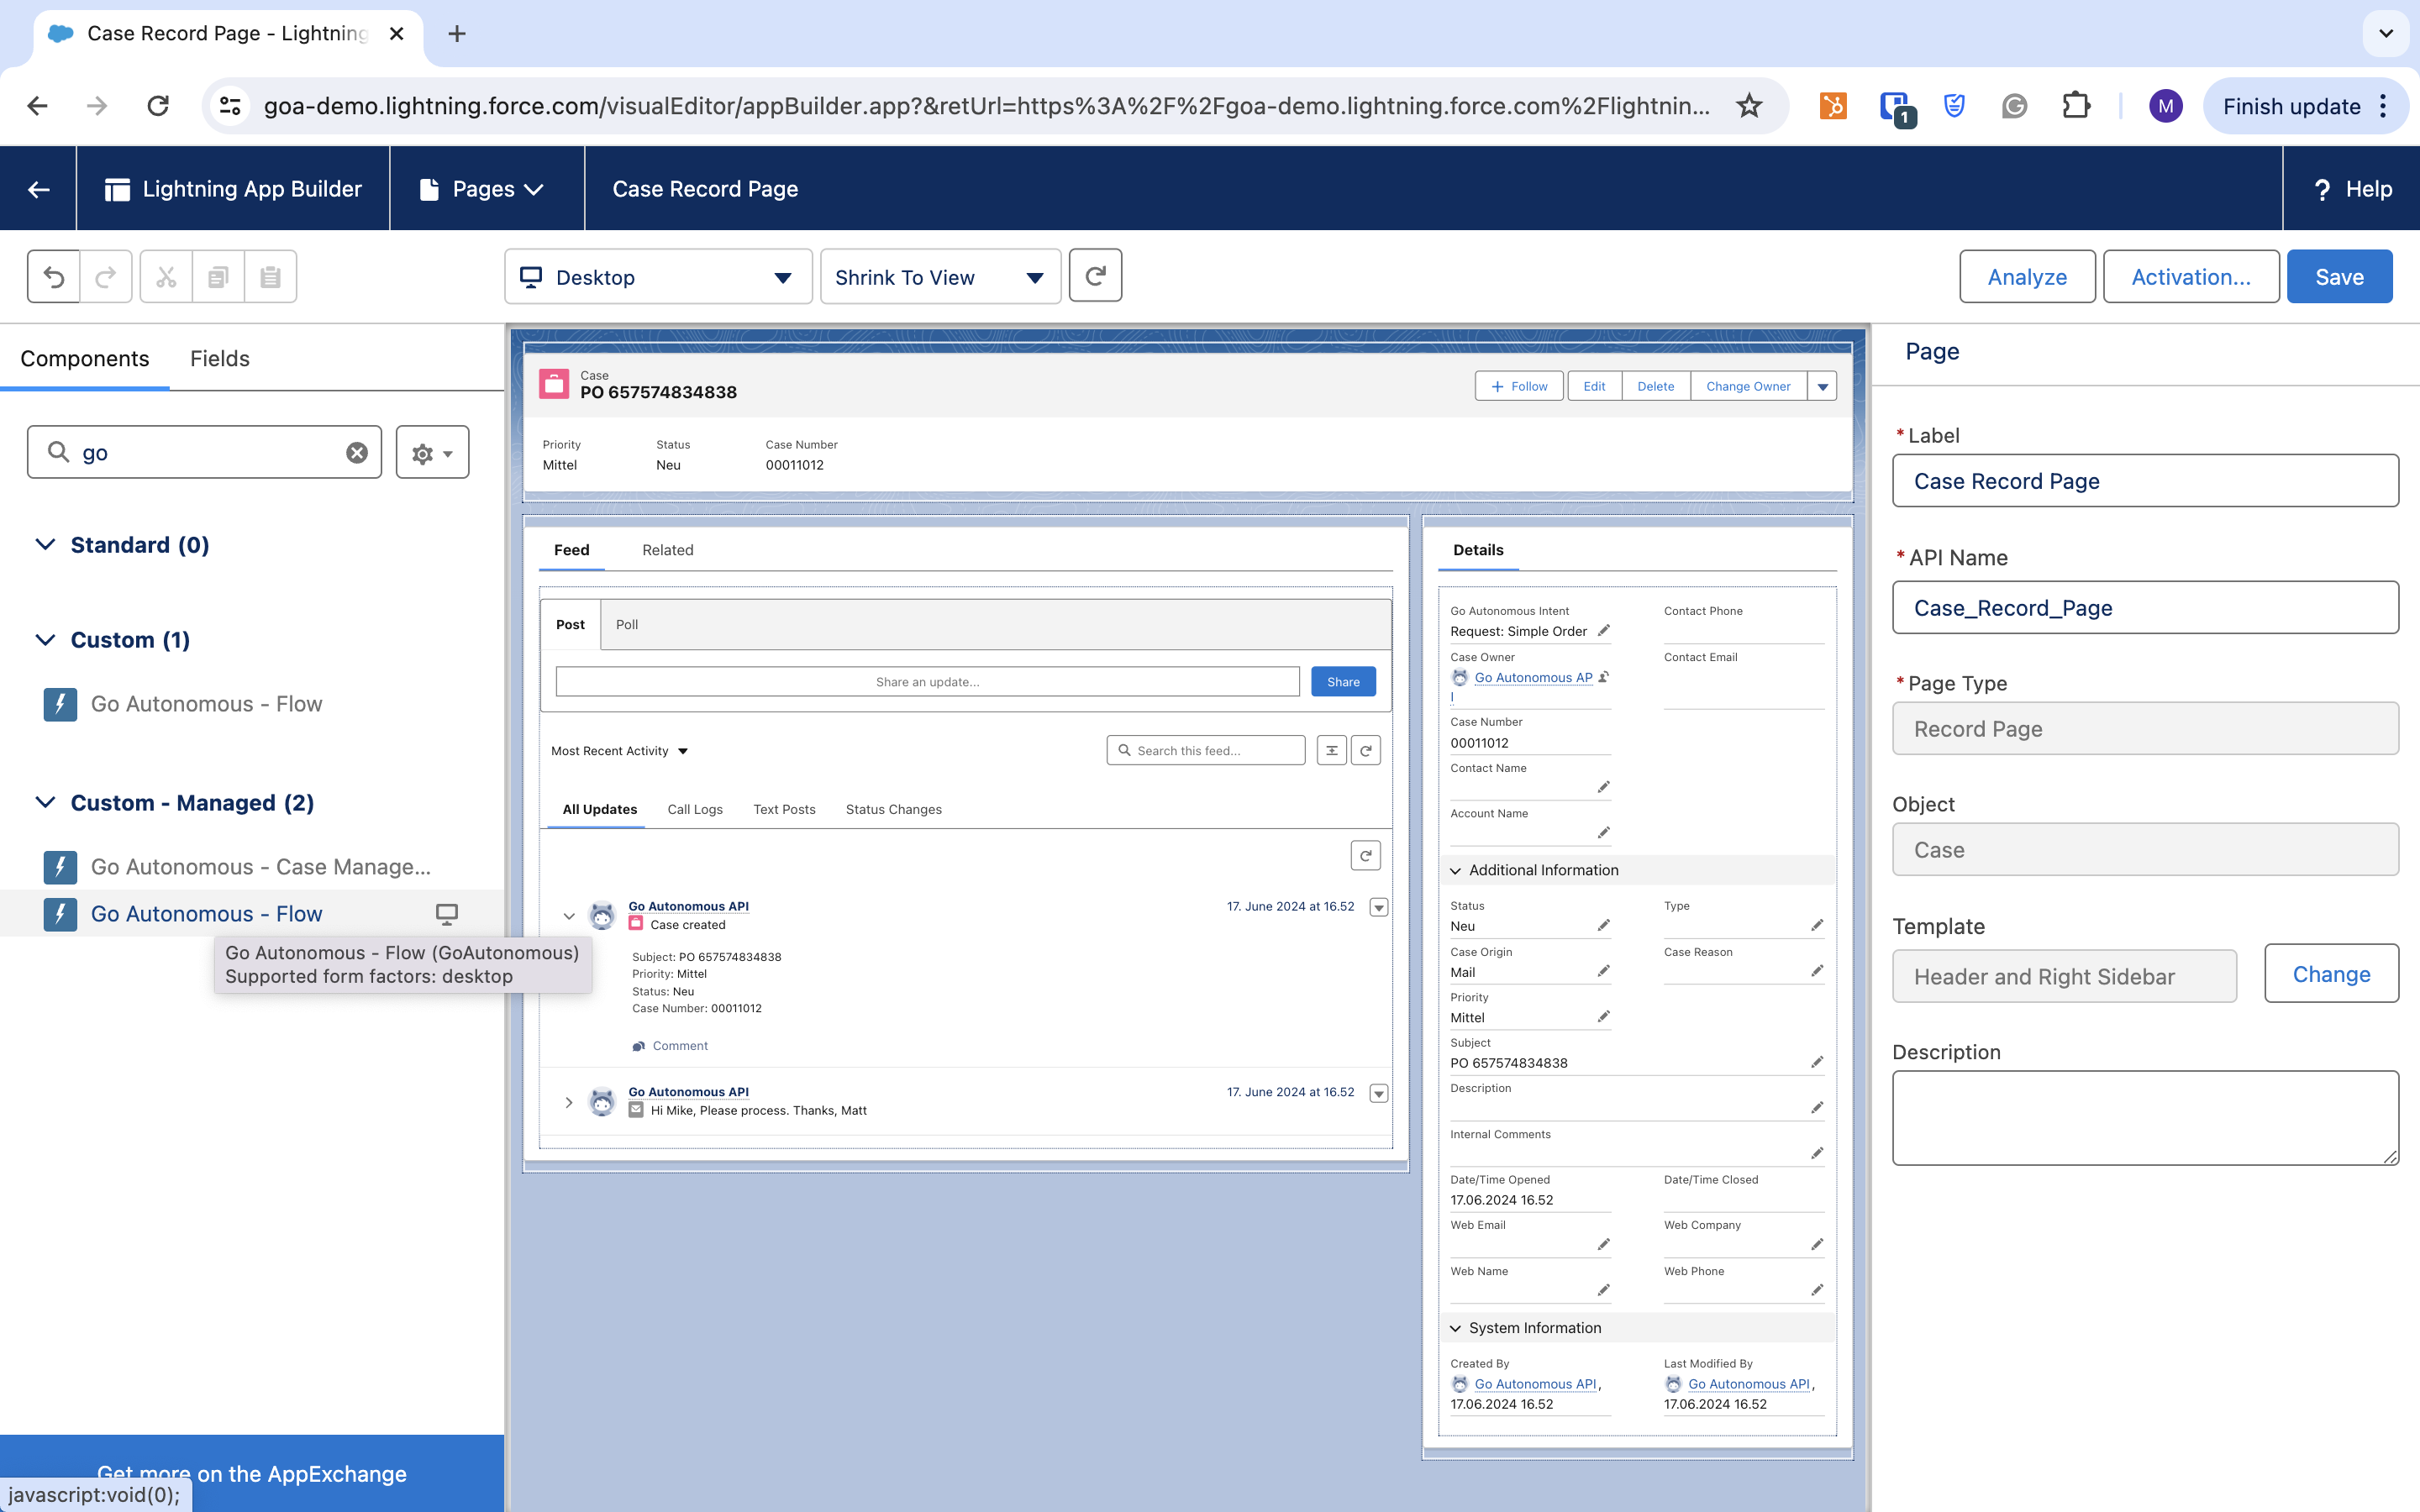
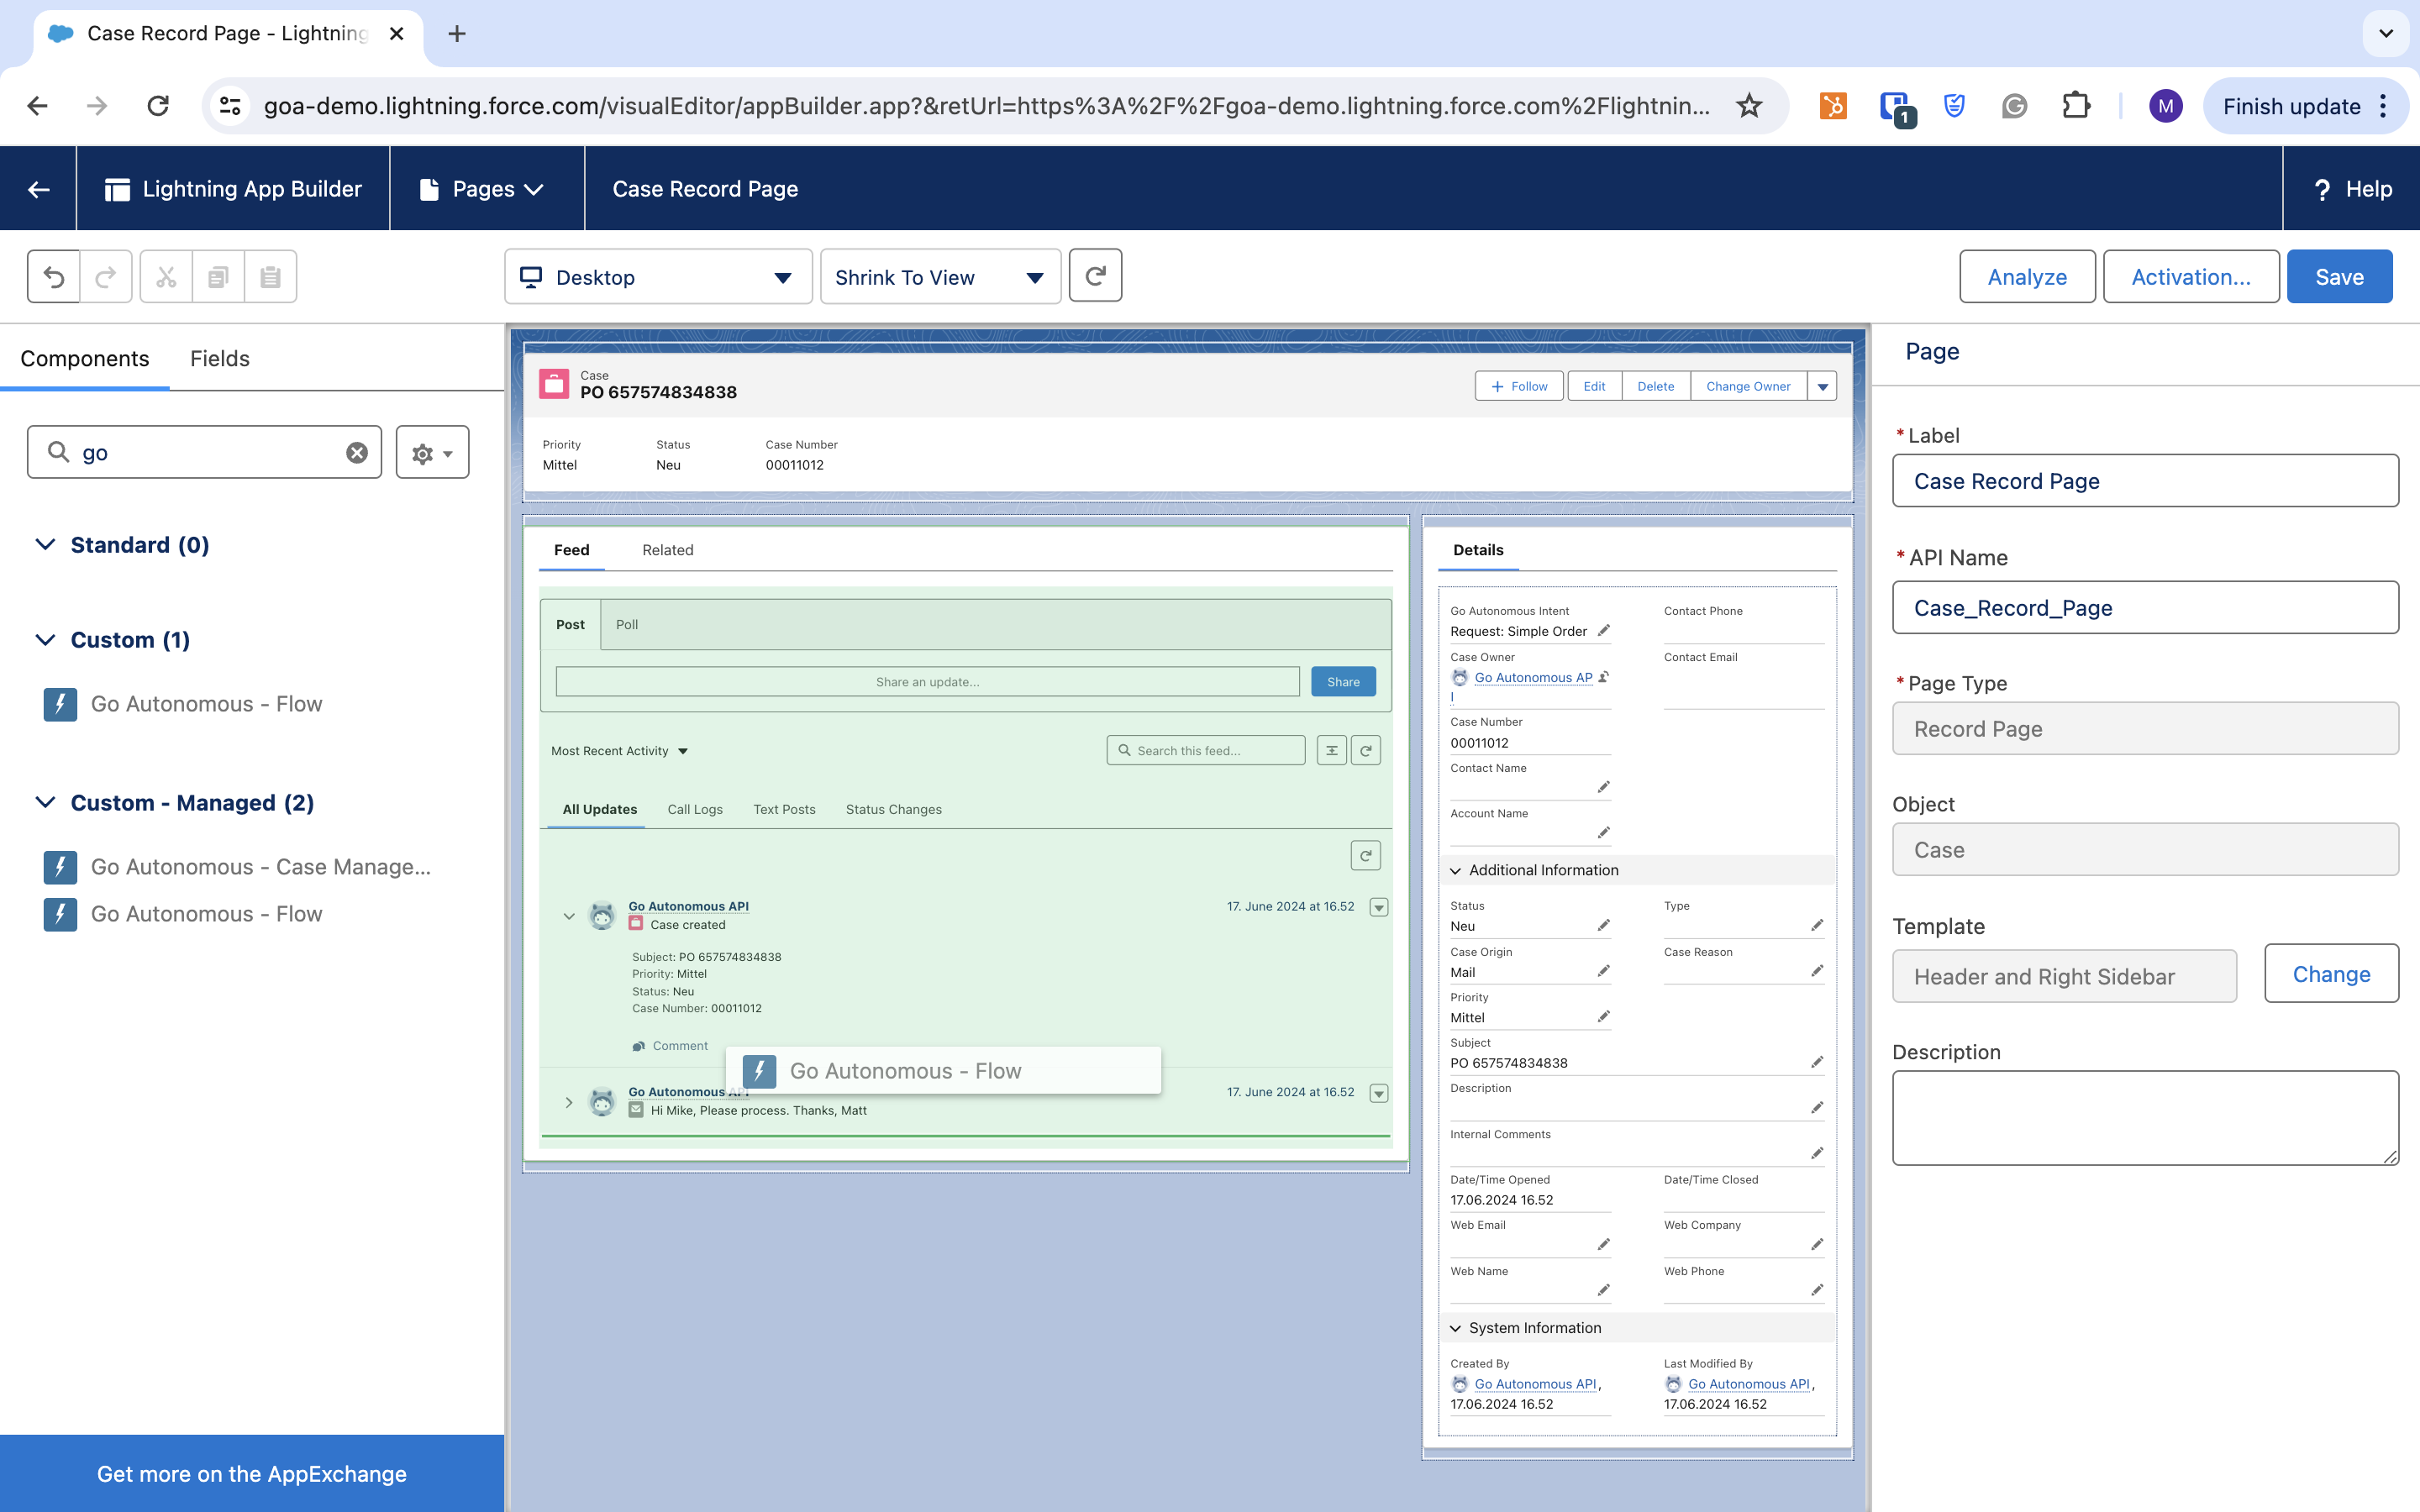
Step 5.
Click on “Go Autonomous – Flow” and drag it to the left side of the case layout.
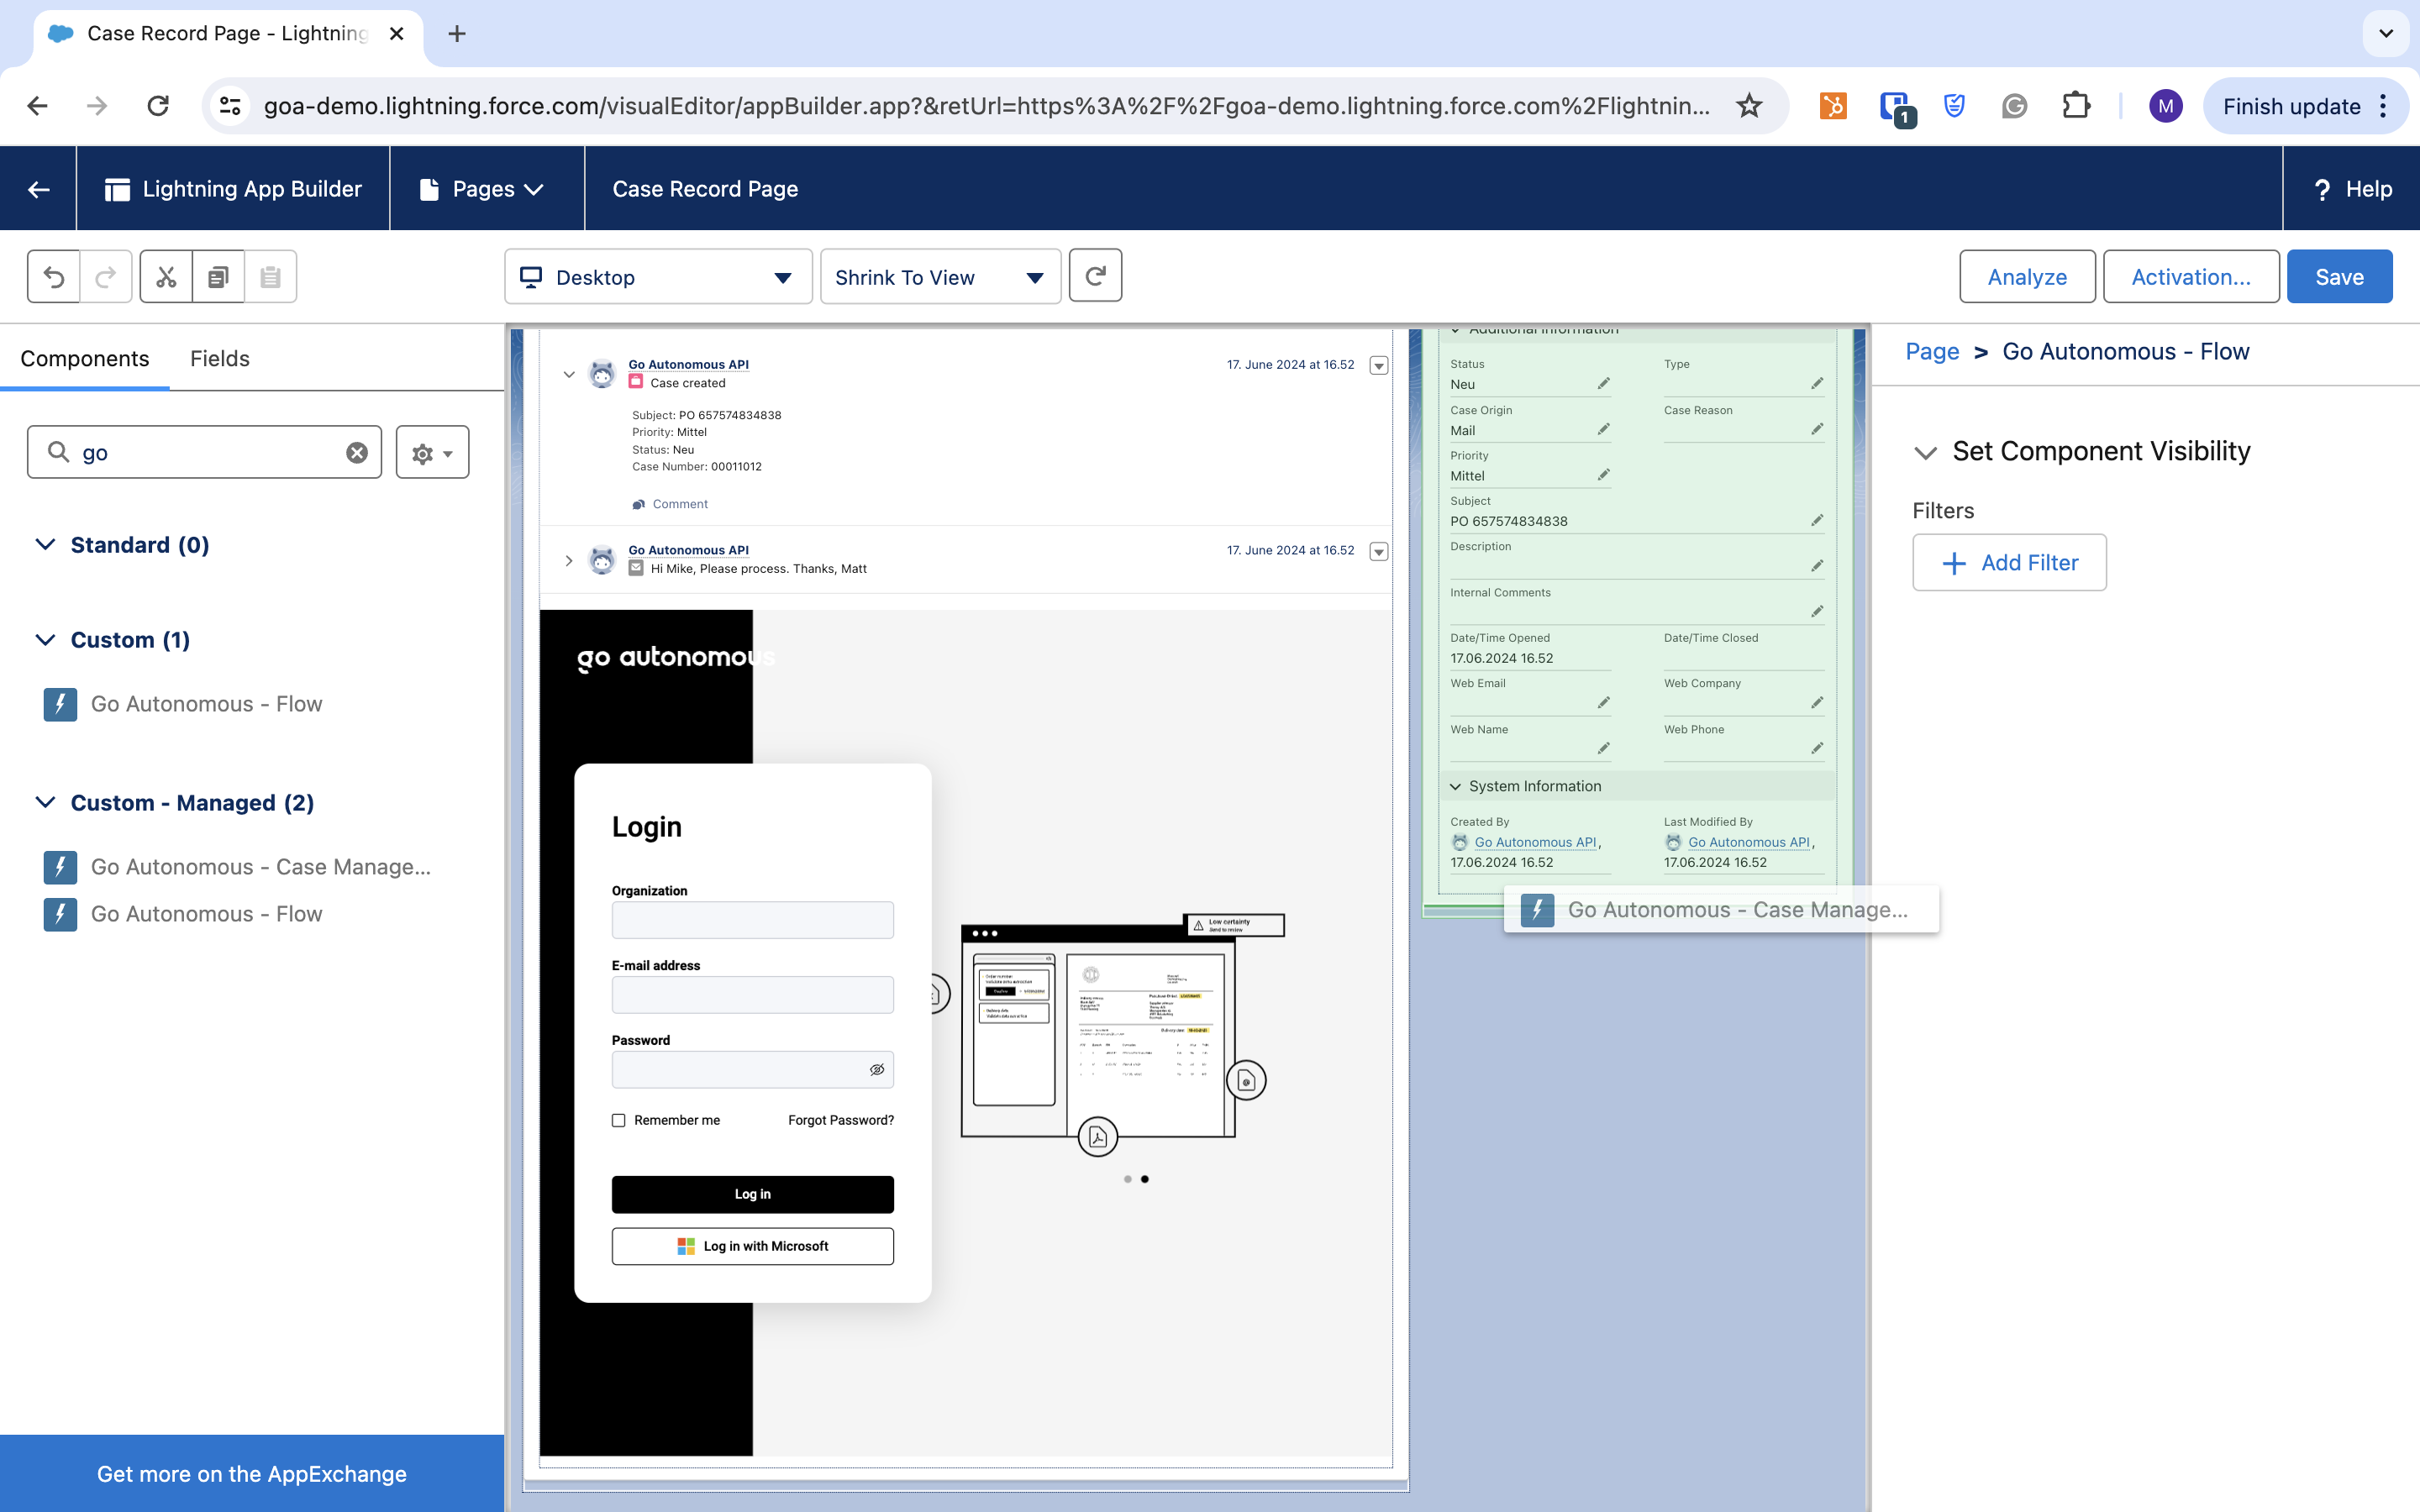
Step 6.
Repeat the same process for “Go Autonomous – Case Management,” placing it on the right side.
Step 7.
Click Save and close the window when you see “Changes saved.”
Part C. Configure the Connected App via the Go Autonomous Platform
Configure the app via the Go Autonomous Platform
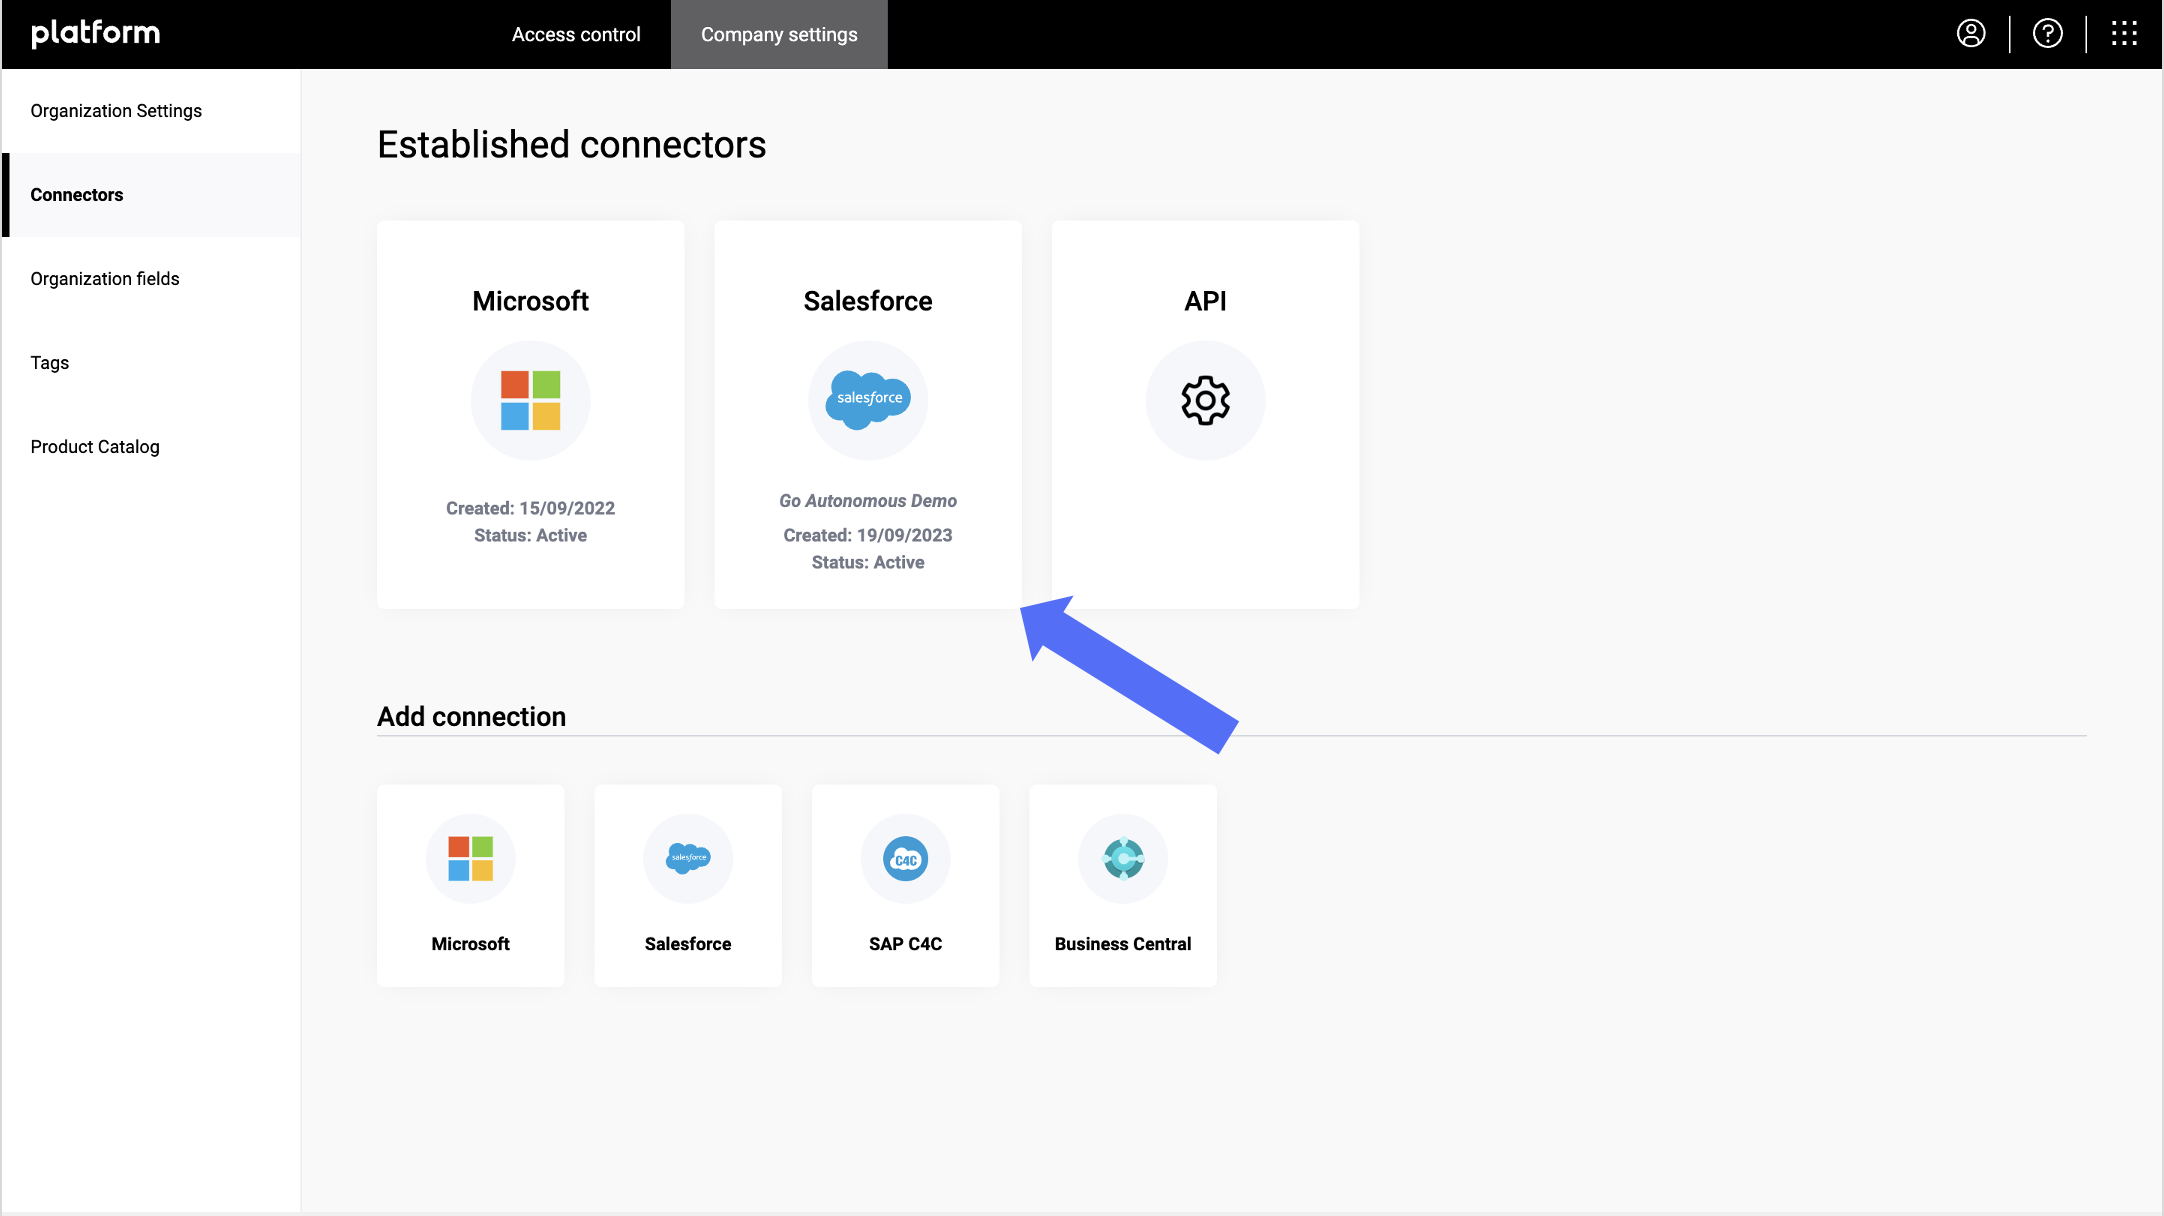
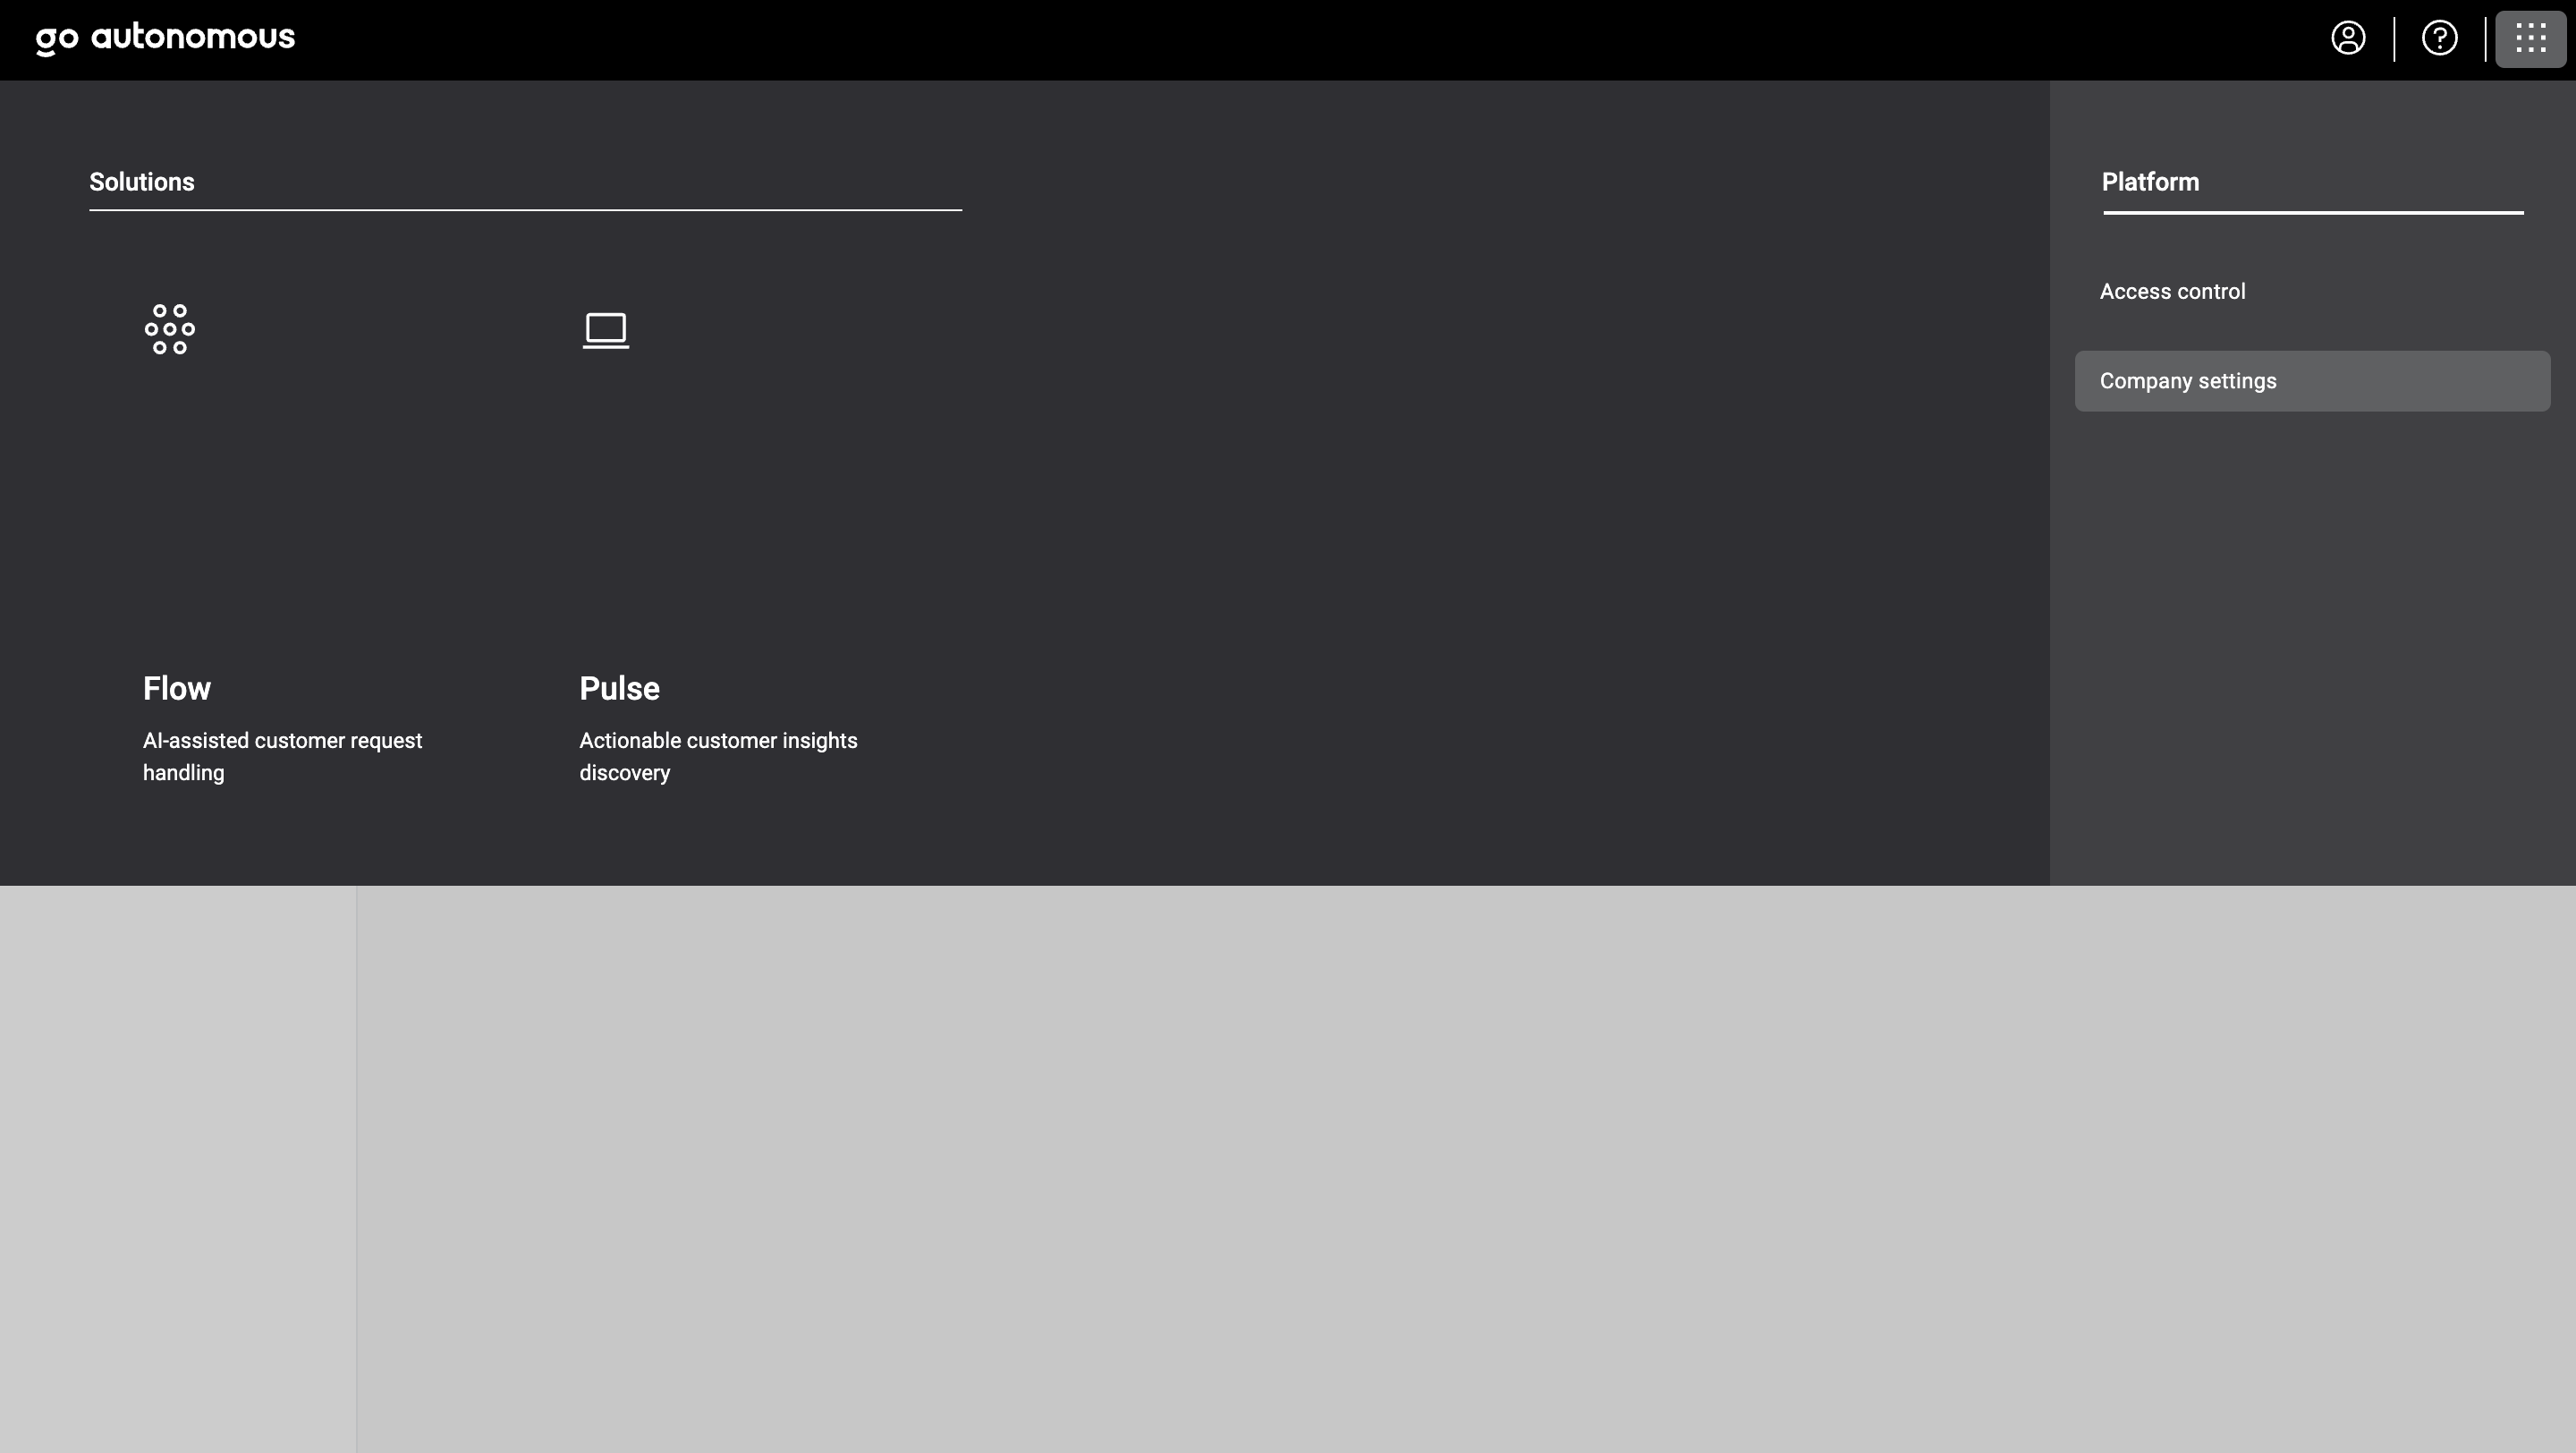
Step 1. Find Connectors.
Log in to your Go Autonomous platform and navigate to the Settings section. This is where you’ll manage all your connected applications.
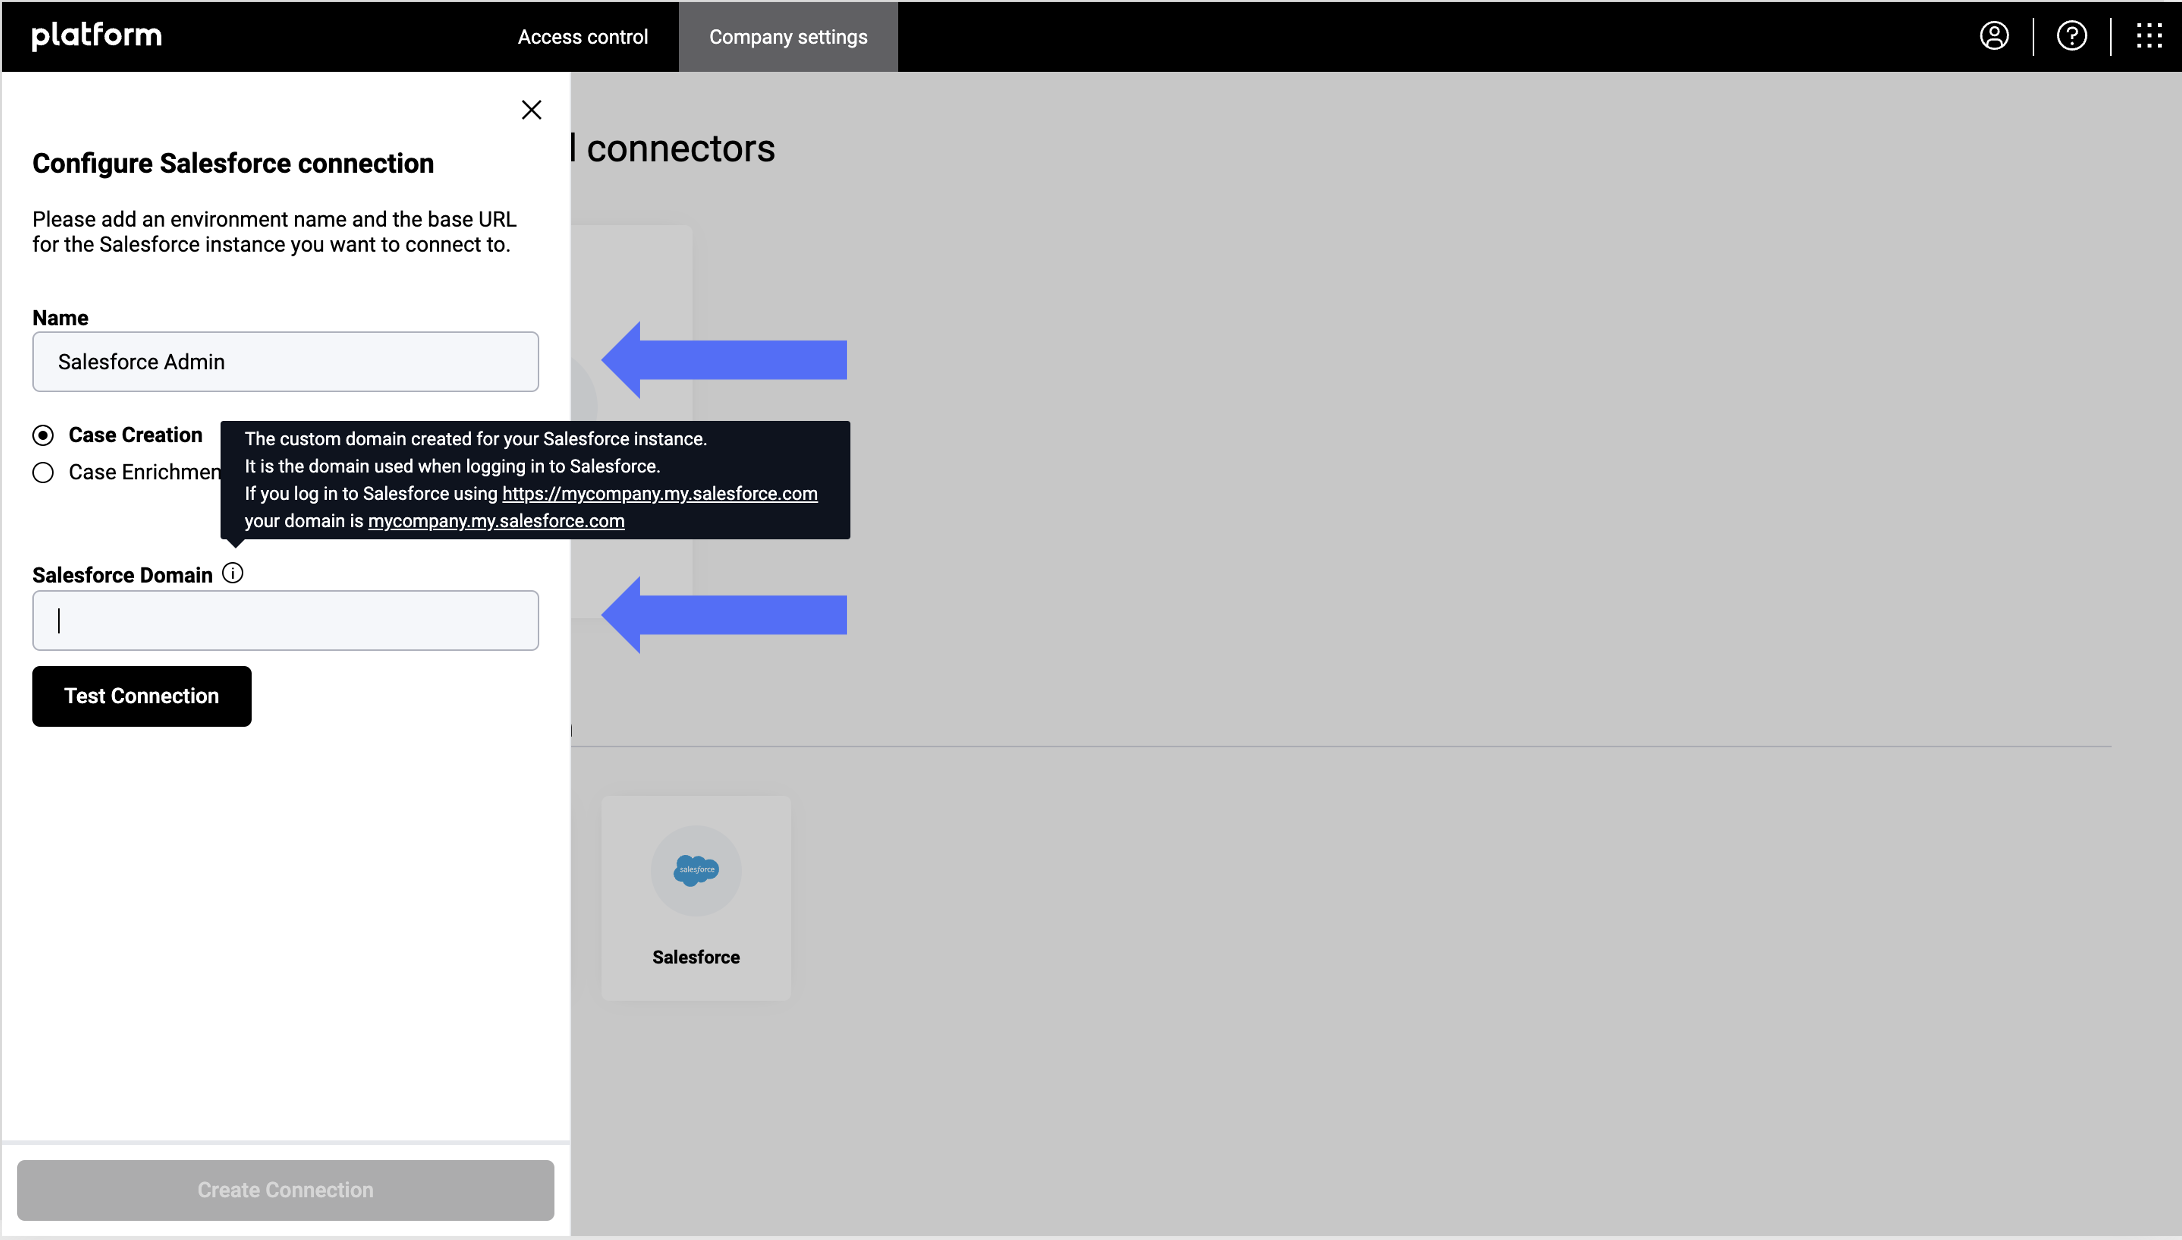
Step 2. Create Your Salesforce Connection
- Look for the “Connected Apps” section within Settings. Here, you’ll be able to configure a new connection specifically for Salesforce.
- Give your connection a clear and recognizable name (e.g., “Main Salesforce Org”).
- Select either ‘Case Creation’ or ‘Case Enrichment’ depending on the desired functionality for the Salesforce Connector.
- In the designated field, enter the custom domain link you use to access your Salesforce organization.
Step 3. You’re Connected!
Once you’ve filled in the details, your Salesforce connection should be successfully established and appear under “Active Connections.” Congratulations! You’re now ready to leverage the power of this integration.